
If you service a steady stream of Kia/Hyundai 2.4L vehicles, building a disciplined, repeatable engine swap process is how you stay efficient and keep comebacks at zero. This guide focuses on practical steps, tool choices, risk controls, and quality checks that translate directly to quicker cycle times and cleaner first starts—equally applicable to similar front-drive, transverse four-cylinder platforms.
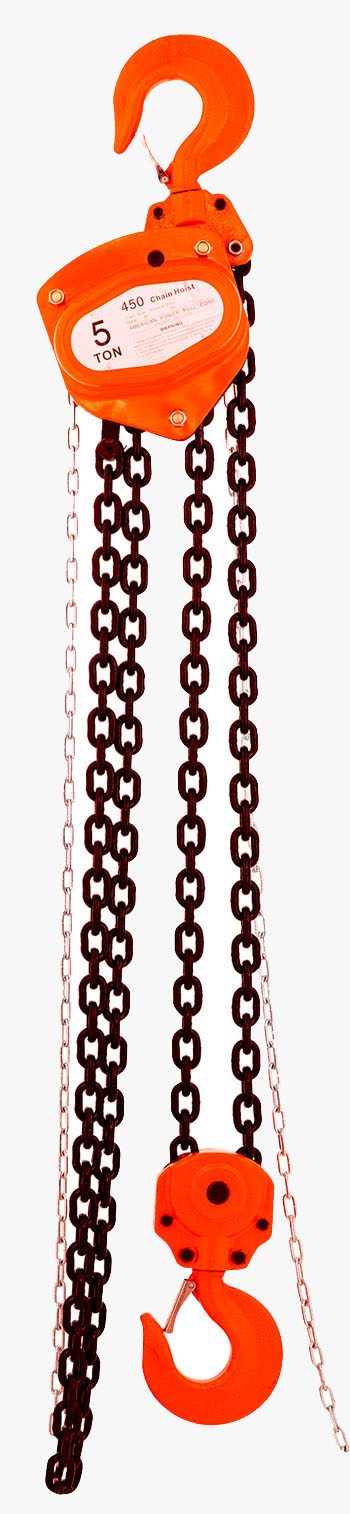
126757 450 American Power Pull AG450 5 Ton Chain Block/Hoist
Mfg: American Power Pull
Part #: 450
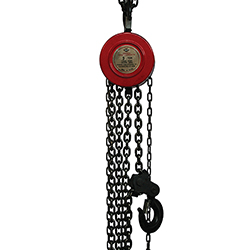
136841 4003 American Forge & Foundry AFF4003 3 Ton Chain Hoist
Mfg: American Forge & Foundry
Part #: 4003
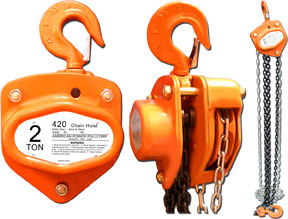
126758 420 American Power Pull AG420 AMG420 2 Ton Chain Hoist/Power Pull
Mfg: American Power Pull
Part #: 420
1) Plan the Job: Confirm, Scope, Source, Stage
Before you touch a fastener, lock down the plan. Rushing at the start usually costs hours later.
- Confirm failure and scope: Verify the engine is truly the root cause. Check for coolant/oil cross-contamination, low oil pressure, timing failure, metal in oil, bent rods from hydrolock, etc. Scan for DTCs and save a pre-swap report (baseline for later). Document oil pressure, misfire counters, and any immobilizer or network codes.
- Decide long block vs. short block: Most shops go long block for speed and warranty. If reusing the head, budget for valve-time and machine work. Factor one-time-use fasteners and seals either way.
- Source and verify: Match year, emissions family, GDI vs MPI, crank reluctor pattern, and sensor boss locations. If using a donor engine, borescope cylinders, verify timing integrity, and check end play. Ensure included components (manifolds, HPFP, injectors) are compatible or plan to transfer yours.
- Service information and campaigns: Pull factory procedures, torque specs, tightening sequences, and fluid types. Check technical service bulletins and campaigns that may change parts or procedures.
- Parts and consumables: Gaskets and seals (rear main, front crank, valve cover, oil pan if separated), timing cover sealant, fresh plugs, belts, thermostat, coolant, oil/filter, HP fuel line(s) and injector seal kits for GDI, exhaust gaskets, O-rings for coolant pipes, throttle body/PCV gaskets, hose clamps, and any torque-to-yield bolts required by service info.
- Tooling staged: Engine hoist and load leveler (or engine support bar with cradle stand), subframe stands, torque wrenches and angle gauge, serpentine belt tools, fuel line disconnects, hose pinch-off pliers, cooling system vacuum fill/bleeder, borescope, compression/leak-down testers (pre-checks), OBD-II/bidirectional scan tool, J2534 pass-thru (for flashes), multimeter and oscilloscope, magnetic trays, fender covers, label tapes/paint pen, zip bags, and a no-spill funnel.
- Bay layout and safety: Assign staging tables front-to-back, drip pans, absorbent, and battery maintainer for later programming. Disconnect the negative battery cable and allow SRS capacitors to discharge per service info before disturbing the harness.
2) Pre-Pull Prep: Organize Once, Touch Once
Speed comes from organization and not handling the same hardware twice. Treat hardware control as part of the job, not an afterthought.
- Label and photo: Tag every harness branch, vacuum hose, cooler line, and bracket as you go. Use consistent abbreviations. Take wide-angle photos before each major removal step and close-ups of routing that could be ambiguous.
- Bag and tag: Use zip bags with a paint pen or index cards in the bag. Keep bags in removal order in a bin or on a rolling cart. For internal fasteners or variable-length bolts (e.g., timing cover), push them through a cardboard diagram drawn to shape.
- Fluid control: Drain engine oil and coolant. If you plan to leave the A/C circuit closed, unbolt the compressor and secure it aside. Same for power steering pumps where applicable; cap fittings and protect from strain.
- Depressurize fuel: Use service port or scan tool to command the pump off and crank to relieve pressure. For GDI, follow service instructions strictly—high-pressure lines are one-time-use and must be replaced and torqued precisely.
- Exhaust and O2s: Soak hardware, disconnect O2 sensors with proper crowsfoot or O2 socket to avoid harness twist. Protect sensor tips from contamination.
- Harness strategy: Decide if the engine will leave with the harness on or off. On many Kia/Hyundai 2.4L, it’s cleaner to leave the chassis side intact and remove the engine harness with the engine; label bulkhead connectors and grounds carefully.
- Support and loosen: Put the vehicle on stands. Remove undertrays. Support the drivetrain. If dropping the subframe, mark alignment and fastener positions, note steering shaft alignment, and plan for a post-repair alignment if required by manufacturer.
3) Removal Strategy: Top-Out, Front Clip, or Cradle Drop
Pick a method that fits the platform, equipment, and your bay. Commit and execute cleanly.
- Top-out with hoist: Best when the upper core support allows enough clearance and you have a load leveler. Remove the hood, radiator/fans, upper support as needed, and swing the A/C compressor and PS pump out of the way without opening systems.
- Front clip service position: On some crossovers, unbolting the front clip (headlamp brackets, upper support, condenser/radiator module) creates a straight shot. Label and protect all clips and connectors; keep fasteners clustered by component.
- Cradle drop: Efficient when mount and axle clearances are tight. Support subframe with stands or a cradle table, disconnect steering shaft, tie rod ends, sway bar links if needed, and lower the engine/trans cradle as a unit. This often reduces knuckle-busting around the firewall and back of the engine. Mark alignment and replace torque-to-yield bolts as specified.
- Leave systems closed where possible: Unbolt the compressor and hang it. Tie off the PS pump/reservoir. Keep the condenser supported. It avoids evac/recharge time and reduces leak variables.
- Create a front-to-back “trail”: As you remove components, lay them front to back on your staging table. On install, walk the trail backward. This simple physical workflow prevents missed steps and speeds reassembly.
- Common Kia/Hyundai pain points: Hidden grounds at the back of the block, rigid coolant pipes with O-rings, brittle EVAP lines near the firewall, and seized exhaust nuts. Expect and pre-soak. Use line wrenches on cooler fittings and a high-quality E-torx/torx set for odd fasteners.
4) Transfer, Refresh, and Prepare the Replacement
Most time is lost here by discovering late that a bracket or sensor differs. Prep the long block completely before it goes in.
- Compare engines on the stand: Check every boss, sensor port, mount bracket, and coolant/oil passage. Swap over vehicle-specific brackets, sensors, thermostat housing, oil cooler block, idlers/tensioners, crank pulley, and manifolds.
- GDI specifics: Replace the high-pressure line(s) and injector seals. Use the proper Teflon seal resizing tool for injector seals. Torque HP lines and pump fasteners exactly per service info. Inspect the cam bucket lobe under the HPFP for wear.
- Seals and wear items: Replace rear main seal, front crank seal, valve cover gasket, water pump (if external), and thermostat. Inspect the oil cooler; if original engine failed with metal, replace or thoroughly flush per manufacturer method. Clean or replace the PCV valve.
- Timing and covers: If you’ve disturbed timing, lock cams/crank with the correct timing tools. Use the specified sealant bead patterns and wait times on timing covers and the oil pan interface. Do not mix RTV types near gasoline or oil.
- Spark and ignition: Install new plugs gapped to spec and inspect coil boots for carbon tracking. Lightly oil plug threads if specified by manufacturer.
- Sensors and grounds: Clean mating surfaces. Reinstall grounds with clean bare metal contact. A surprising number of post-swap issues trace to missing or corroded grounds.
- Throttle body and EGR (if equipped): Clean with the correct cleaner and keep the throttle blade parked at rest. Avoid forcing it open by hand; many ECUs require relearn if it’s moved aggressively.
- Torque and angle: Use a calibrated torque wrench and an angle gauge for any torque-to-yield fasteners (e.g., main mount bolts, subframe, head bolts if disturbed). Record critical torques on your work order.
5) Install, Prime, First Start, and Relearns
The first start should be uneventful. That’s a function of priming and controlled validation.
- Set the engine: Use a load leveler to avoid fighting mounts. Align dowels and mounts gently; never pull the engine into place with fasteners. If cradle drop, raise and guide as a unit with a spotter.
- Reconnect in reverse trail order: Harnesses first, then coolant and vacuum pipes, fuel, exhaust, and accessories. Keep the battery off until all primary grounds and the starter cable are confirmed.
- Fluids: Pre-fill the oil filter. Add manufacturer-specified oil. Use a vacuum fill tool for coolant to avoid air pockets, especially on transverse engines with high-mounted heater cores.
- Prime oil system: Disable fuel and spark (pull fuel pump relay/fuse and coils or use scan tool), remove spark plugs, and crank until you see oil pressure on the scan tool/mechanical gauge. Reinstall plugs and coils.
- Fuel system safety: For GDI, after installing new HP lines, key-on prime and visually check for seepage before first crank. Wipe, wait, and recheck under pressure.
- First start: Start and immediately watch oil pressure, noise, and idle stability. Keep RPM at fast idle if specified to aid lifter/cam phaser fill. No revving. Watch fuel trims, misfire counters, coolant temp rise, and target vs actual cam angles.
- Bleed air and heat cycle: With the vacuum-filled system, top off via a no-spill funnel. Turn heat on full hot. Verify radiator fan operation and that upper and lower hoses both get hot.
- Relearns and software: Perform throttle/idle relearn and cam/crank variation relearn if required. Clear KAM (keep alive memory) to reset adaptives. Check for calibration updates and apply with a J2534 pass-thru if indicated by service info.
- Leak checks: Use a bright inspection light and mirrors to inspect oil pan perimeter, timing cover joints, cooler lines, HP fuel fittings, heater core connections, and exhaust junctions. Re-torque accessible fasteners after initial heat soak where specified.
6) Post-Swap Validation, Road Test, and Handoff
This step protects you from comebacks. Treat it like a new-vehicle PDI for the powertrain.
- Scan and baseline: After warm idle, scan all modules. Record fuel trims, misfire counters, cam adaptation, coolant temp, and charging voltage.
- Road test: Start gentle. Listen for mount knock/clunks on accel/decel and steering input. Gradually introduce load. Watch for misfires under tip-in and steady-state. Confirm closed-loop operation, fan cycling, and A/C performance.
- Monitor and recheck: After the road test, recheck for leaks, coolant level, and any fresh witness marks. Verify no evaporative or catalyst efficiency codes. If the original engine was metal-contaminated, consider an early oil and filter change at 500–1,000 miles as part of your aftercare plan.
- Alignment and ADAS: If the subframe or steering shaft was disturbed, perform alignment. On ADAS-equipped vehicles, verify camera/radar operation and calibrations per service info.
- Customer education: Provide break-in guidance (avoid sustained high RPM or heavy loads for the first 500–1,000 miles, follow oil change intervals), note any recheck appointment, and include your post-swap baseline report.
Quick Checklist (Pin This)
- Verify failure, pull service info, check TSBs/campaigns
- Stage parts, one-time-use fasteners, and fluids
- Label, photo, bag-and-tag; set up a front-to-back parts trail
- Decide removal method: top-out, front clip, or cradle drop
- Leave A/C and PS closed when possible; protect hoses
- Replace GDI HP lines and injector seals; torque precisely
- Prime oil with plugs out; vacuum-fill coolant
- Perform relearns, update software if applicable
- Road test, rescan, leak-check, and document baseline
Tool and Accessory Picks That Save Time
- Engine hoist with load leveler or engine support bar for cradle drops
- Subframe support stands/cradle table for stable drops and alignment
- Torque wrenches (3/8 and 1/2 inch) with a torque angle gauge
- OBD-II/bidirectional scan tool and a J2534 pass-thru for flashes
- Cooling system vacuum fill tool and no-spill funnel set
- Fuel line disconnect kit and GDI injector seal resize tools
- Borescope, compression tester, and leak-down kit for pre/post checks
- Magnetic parts trays, fender covers, labels, zip bags, and paint pens
- Hose pinch-off pliers and quick-connect coupling tools
- Crank pulley holding tool and application-specific timing locks
FAQs
Do I need to program the ECM when swapping a long block?
Usually no for a long block if you transfer your original sensors and keep the vehicle’s ECM. However, many platforms benefit from calibration updates after engine replacement. If you replace the throttle body or disturb cam/crank sensors, perform throttle and CKP/CMP relearns as specified.
Should I open the A/C system?
If space allows, unbolt the compressor and secure it aside with the lines attached to avoid evac/recharge, contamination, and added leak variables. If you must open it, follow recovery/recharge procedures and replace disturbed O-rings with the correct material and oil.
What should I always replace on a GDI engine swap?
High-pressure fuel lines (one-time-use), injector Teflon seals (with proper sizing tool), intake/exhaust gaskets, throttle body gasket, coolant pipe O-rings, rear main and front crank seals if not confirmed leak-free, and any torque-to-yield mount/subframe bolts per service info. Fresh plugs and a new oil filter are standard.
How do I avoid a dry start?
Pre-fill the oil filter, disable fuel/spark, remove the spark plugs, and crank until oil pressure registers. This allows the pump to fill galleries without load. Confirm pressure on a scan tool or mechanical gauge.
Top-out or cradle drop—what’s faster?
It depends on platform packaging and your equipment. If firewall clearance is tight and driveshaft/axle removal is straightforward, a cradle drop on stands or a table is often faster and cleaner. If the front clip comes off easily and the core support is modular, top-out through the front can be equally quick.
Any post-swap maintenance advice?
Perform a thorough leak check after the first heat cycle and again after the road test. If the old engine failed catastrophically, schedule an early oil and filter change at 500–1,000 miles. Educate the driver on gentle break-in and varying engine speed during the first week.
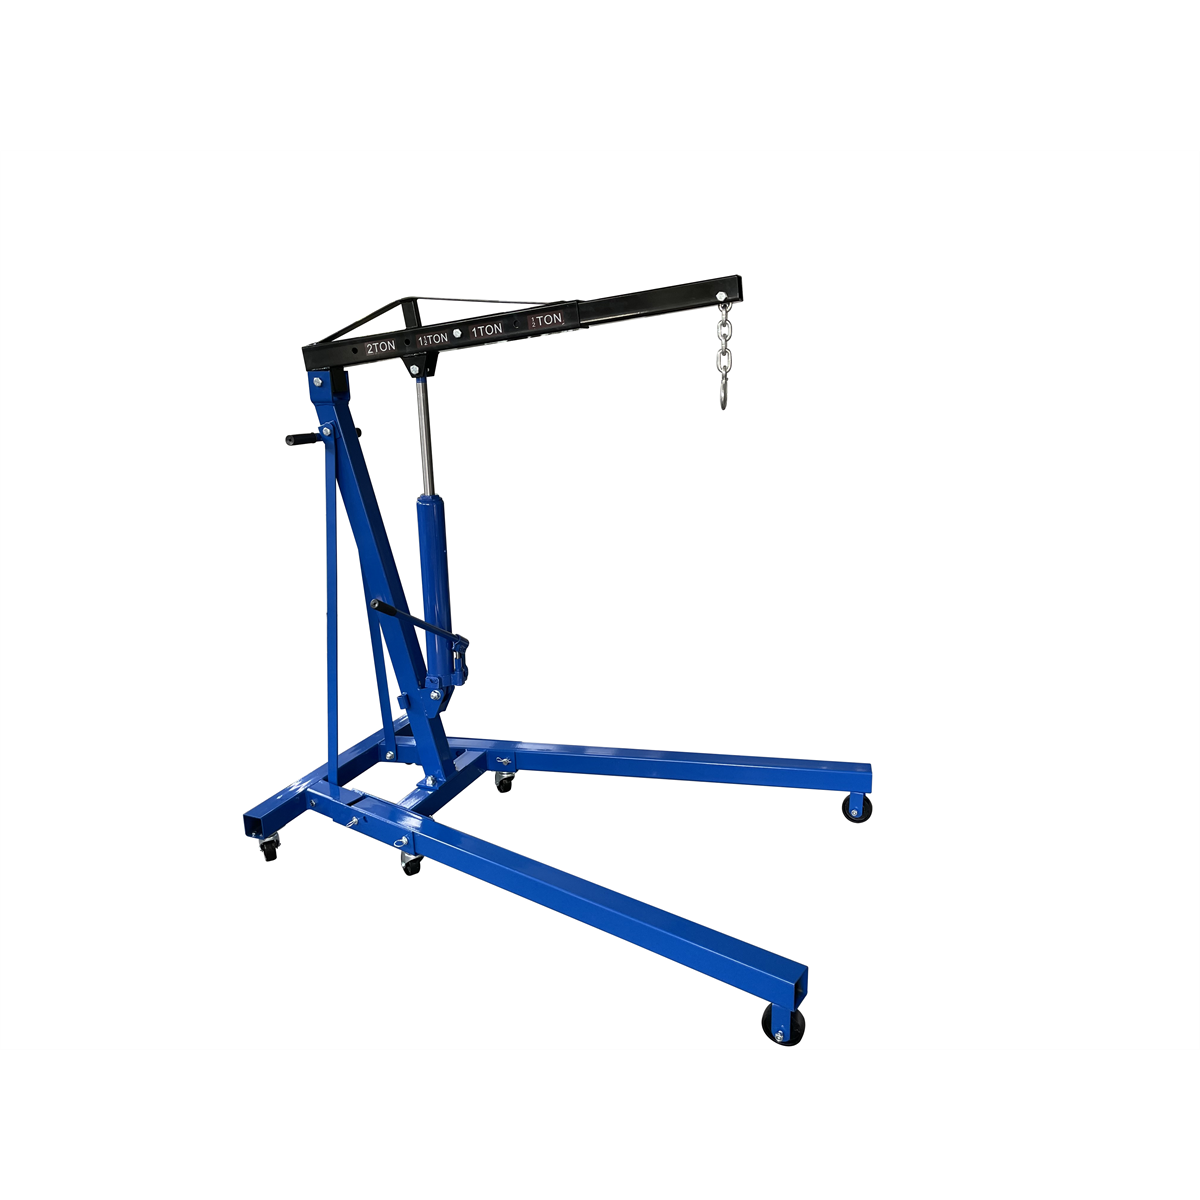
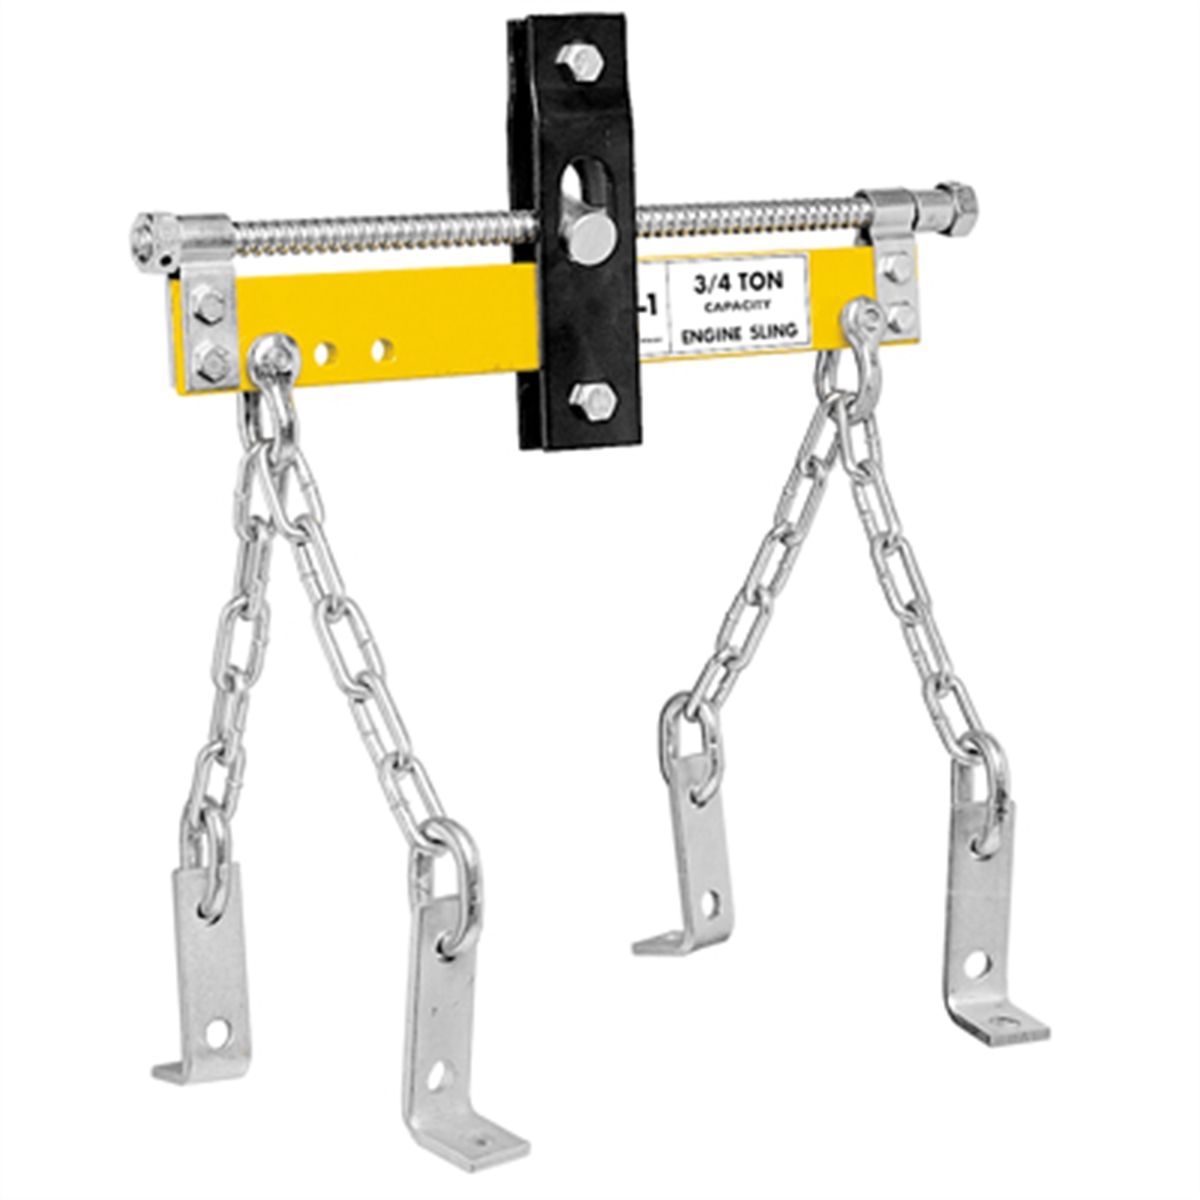
Shop Engine Lifting & Support
For this swap workflow, see our selection of Engine Hoists, Support Bars & Stands to handle top-out pulls and stable cradle drops.
- Hoists and load levelers for controlled installs
- Engine support bars and subframe stands for cradle drops
- Chains, slings, and hardware to secure powertrains
The Toolsource Technical Team blends decades of real-world automotive service experience with up-to-date technical research. Our writers collaborate with professional mechanics, shop owners, and diagnostic specialists to deliver practical, workshop-ready guidance you can trust.

Follow us on social media