Braking Basics: Safe and Effective Tools for DIY Brake Pad Replacements
Are you tired of spending a fortune on brake pad replacements at the auto shop? Look no further! In this article, we will guide you through the braking basics of DIY brake pad replacements, equipping you with the knowledge and tools needed to perform this essential maintenance task on your own.
With safety as our top priority, we will walk you through step-by-step instructions to ensure a safe and effective brake pad replacement. Whether you’re a seasoned DIY enthusiast or a beginner, our easy-to-follow guidelines will make the process less daunting.
Don’t worry if you’re not a car expert – our comprehensive explanations and detailed images will help you understand the ins and outs of brake pads and their function. Armed with this knowledge, you’ll feel confident choosing the right brake pad for your vehicle.
Save money, gain a sense of accomplishment, and empower yourself with the skills to perform your own brake pad replacements. Get ready to hit the road with confidence, knowing you have a firm grip on your vehicle’s braking system. Let’s dive into the world of safe and effective DIY brake pad replacements together!
Importance of Brake Pad Replacements
Brake pads play a crucial role in ensuring the safety of your vehicle and its occupants. They are the primary components responsible for stopping your car when you press the brake pedal. Over time, brake pads wear down due to friction, reducing their effectiveness. Regular brake pad replacements are essential to maintain optimal braking performance and prevent potential accidents.
Replacing brake pads not only ensures your safety but also helps you save money in the long run. By performing the replacements yourself, you can avoid expensive labor costs and markups at the auto shop. Additionally, DIY brake pad replacements allow you to have control over the quality of the parts used, ensuring you get the best value for your money.
Now that you understand the importance of brake pad replacements, let's move on to the tools you'll need to get started.
Tools Needed for DIY Brake Pad Replacements
Before you begin the brake pad replacement process, it's important to gather all the necessary tools to ensure a smooth and efficient job. Here are the essential tools you'll need:
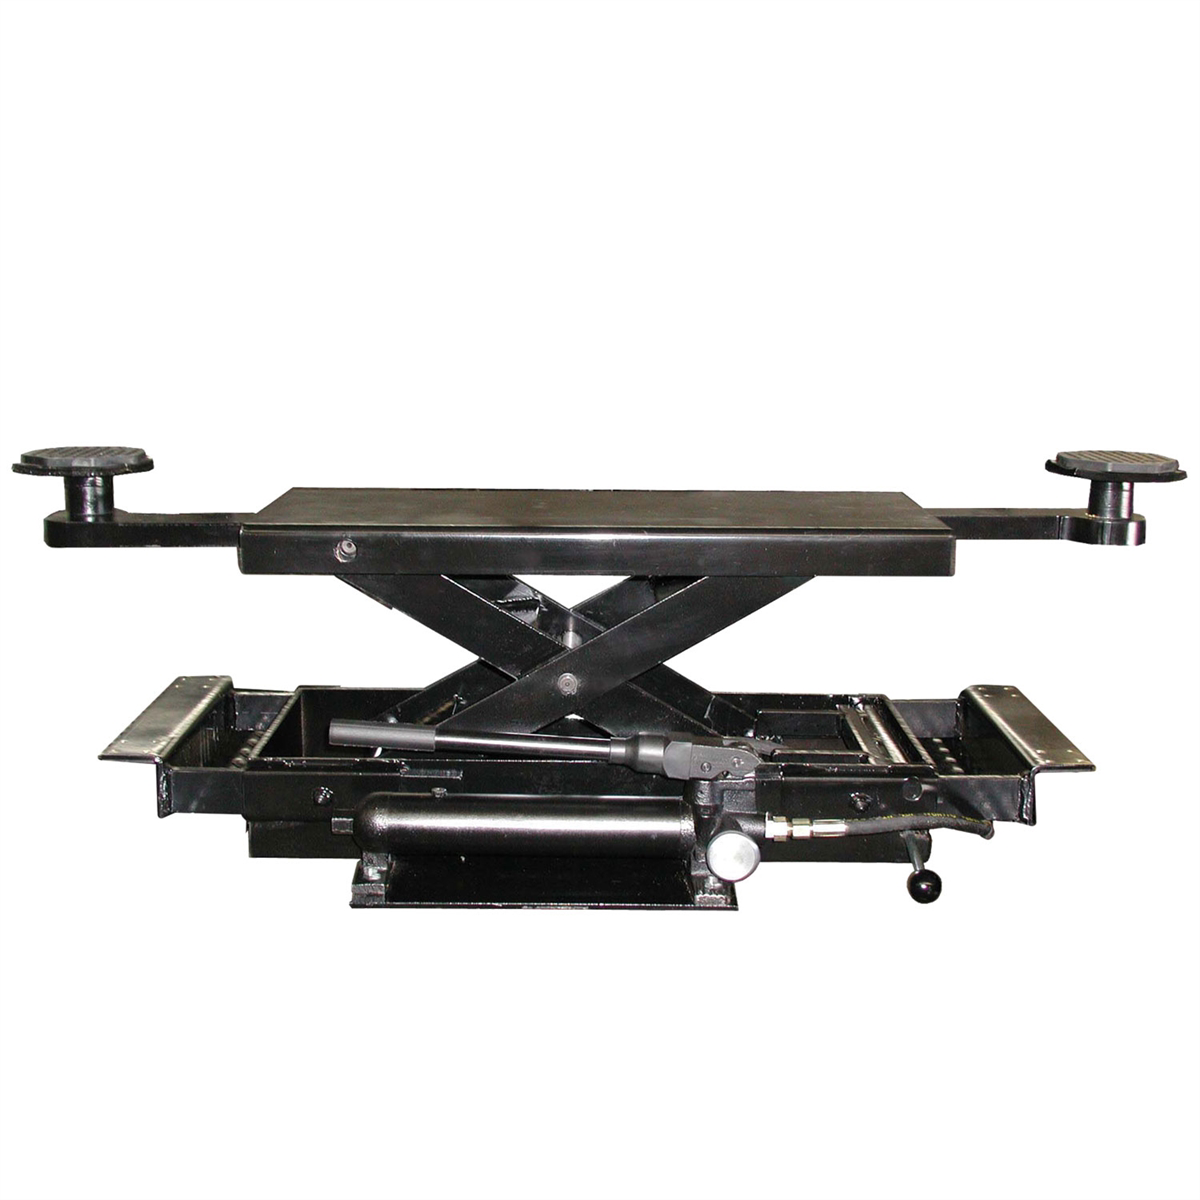
1. Jack and Jack Stands: These are used to lift and secure your vehicle, providing the necessary clearance to access the braking system.
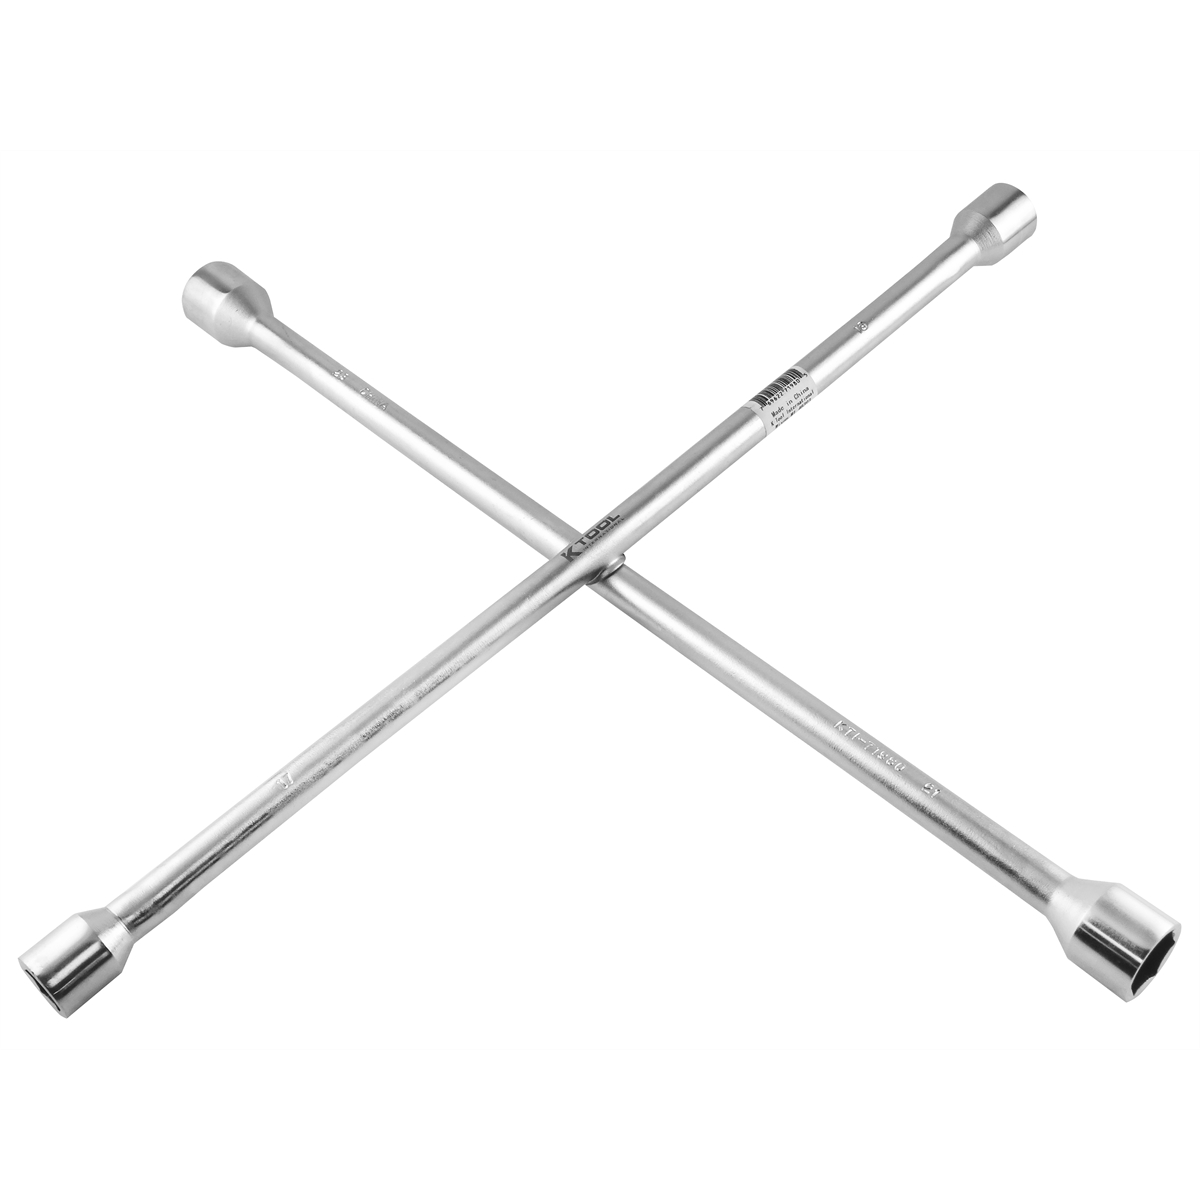
2. Lug Wrench: A lug wrench is used to loosen and remove the lug nuts that hold the wheels in place.
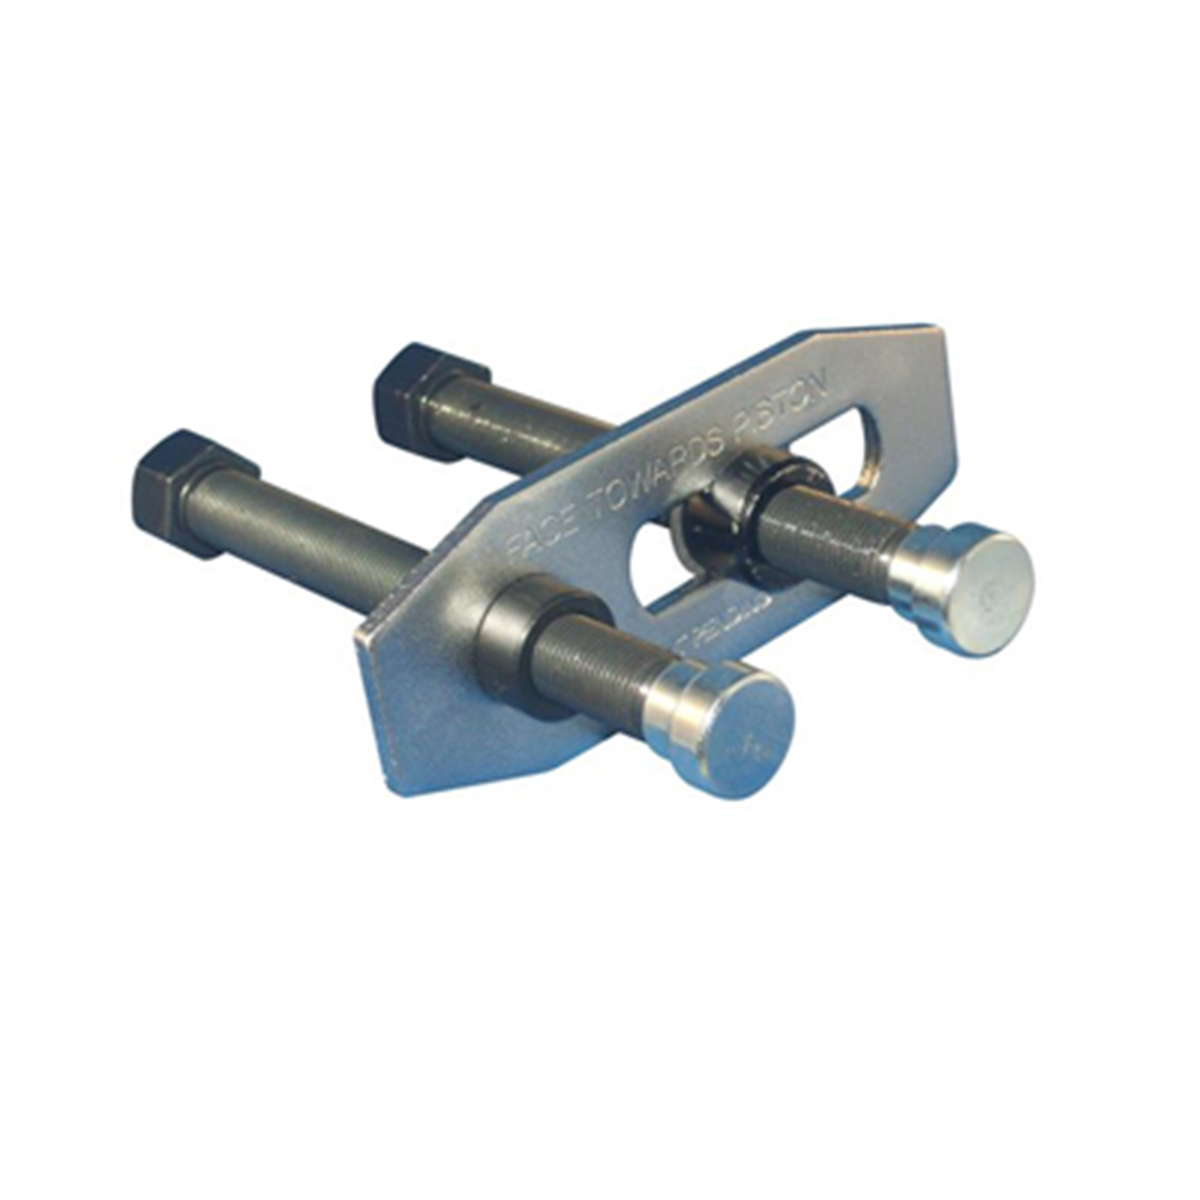
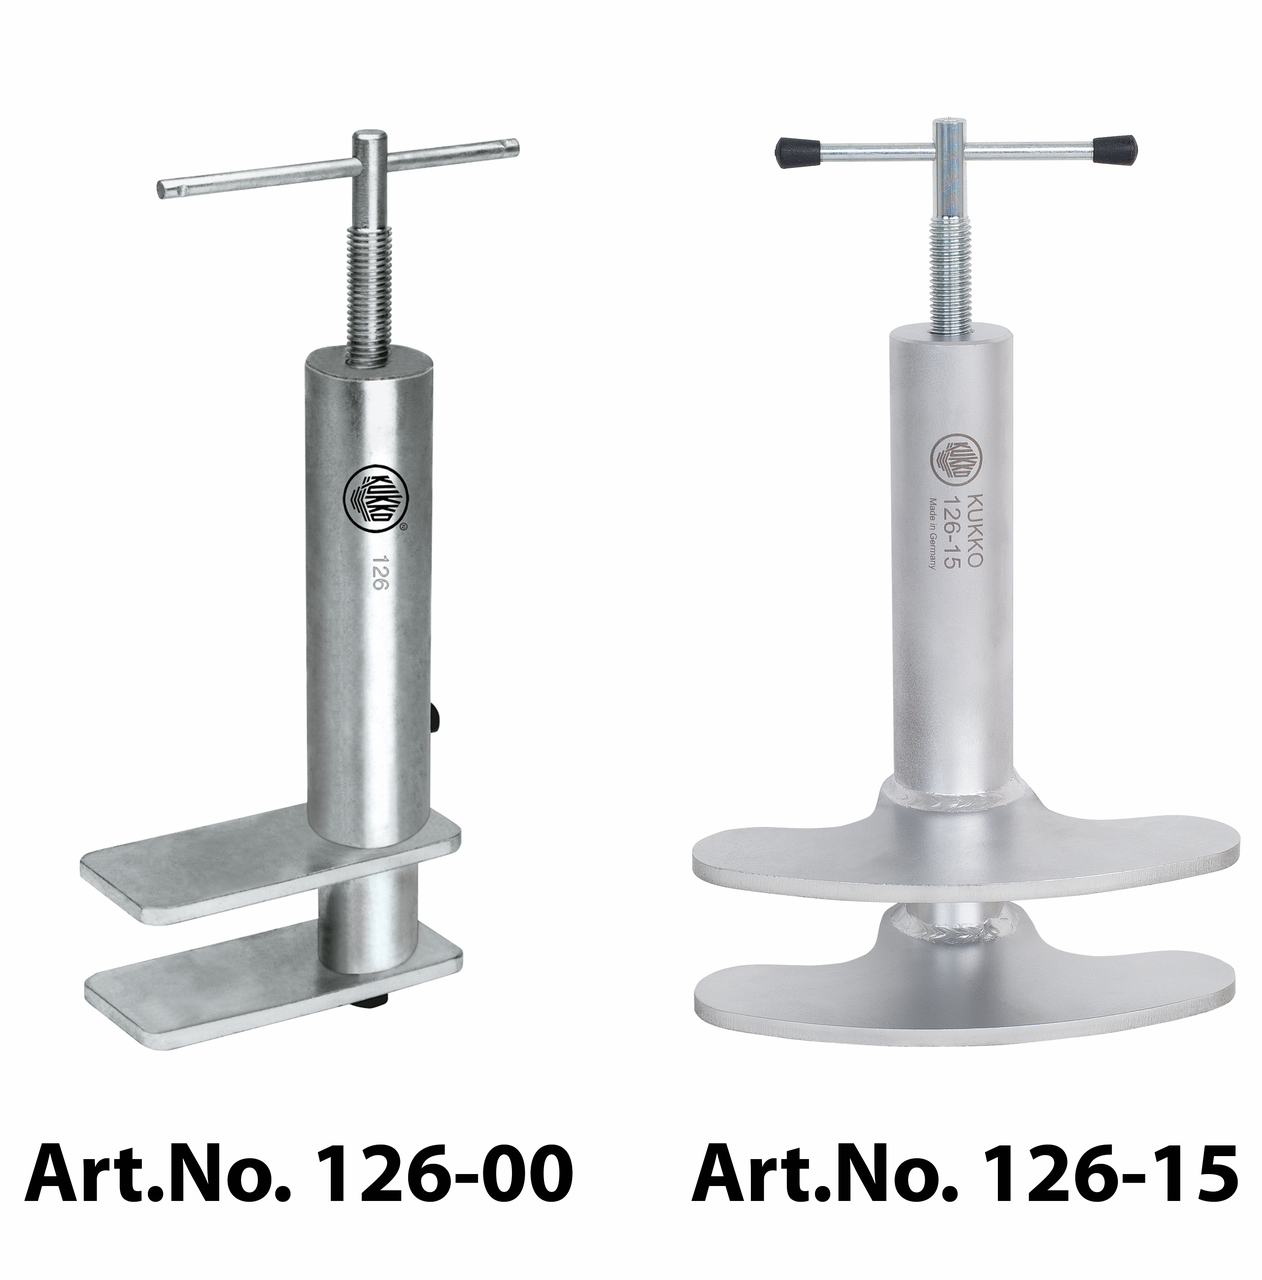
3. C-Clamp or Brake Caliper Piston Tool: This tool is necessary for compressing the brake caliper piston, allowing you to remove and install the brake pads.
4. Brake Cleaner: Brake cleaner helps remove any dirt, grime, or brake dust from the braking components, ensuring smooth operation.
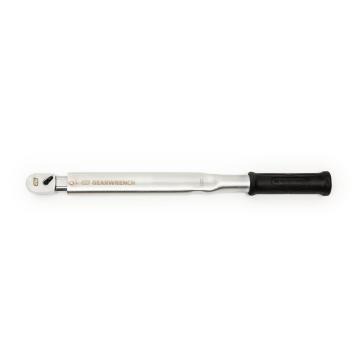
5. Torque Wrench: A torque wrench is used to tighten the lug nuts to the manufacturer's recommended specifications, ensuring proper wheel attachment.
6. Brake Pad Spreader Tool: This tool helps spread the brake pads apart, creating enough space to accommodate the new pads.
Now that you have the necessary tools, let's move on to the step-by-step guide for replacing your brake pads.
Step-by-Step Guide to Replacing Brake Pads
Replacing brake pads may seem intimidating at first, but with our step-by-step guide, you'll find it surprisingly straightforward. Follow these instructions carefully to ensure a safe and effective brake pad replacement:
Step 1: Prepare your workspace
Start by parking your vehicle on a level surface and engaging the parking brake. Ensure that the vehicle is in park (for automatic transmission) or neutral (for manual transmission). Place wheel chocks behind the rear wheels to prevent any accidental rolling.
Step 2: Loosen the lug nuts
Using a lug wrench, loosen the lug nuts on the wheel you'll be working on. Loosen them just enough to break the resistance but don't remove them completely yet. This step will be easier to perform before lifting the vehicle.
Step 3: Lift the vehicle
Using a jack, lift the vehicle until the wheel you'll be working on is off the ground. Once the wheel is off the ground, place jack stands under the vehicle to support its weight. Lower the jack until the vehicle rests securely on the jack stands.
Step 4: Remove the wheel
Now that the vehicle is properly supported, you can safely remove the lug nuts and take off the wheel. Set the lug nuts aside in a safe place.
Step 5: Remove the brake caliper
Locate the brake caliper, which is usually positioned near the top of the rotor. Remove the bolts or pins that hold the caliper in place. Once the caliper is loose, carefully lift it off the rotor and suspend it using a wire hanger or bungee cord. Avoid letting the caliper hang by the brake line, as this can cause damage.
Step 6: Replace the brake pads
With the caliper removed, you can now access the brake pads. Take note of their position and how they are secured in the caliper. Remove the old brake pads and replace them with the new ones, ensuring they are properly aligned.
Step 7: Compress the brake caliper piston
Before reinstalling the caliper, you'll need to compress the brake caliper piston to accommodate the new, thicker brake pads. Use a C-clamp or brake caliper piston tool to slowly and evenly compress the piston.
Step 8: Reinstall the brake caliper
Once the piston is compressed, carefully position the caliper back onto the rotor. Secure it in place by tightening the bolts or pins you removed earlier. Ensure the caliper is aligned properly to avoid any interference with the rotor.
Step 9: Reinstall the wheel
With the brake caliper back in place, it's time to put the wheel back on. Slide the wheel onto the wheel studs and hand-tighten the lug nuts as much as possible. This step ensures that the wheel is properly aligned before final tightening.
Step 10: Lower the vehicle and tighten the lug nuts
Using the jack, carefully lower the vehicle until the wheel touches the ground. Once the vehicle is stable, use a torque wrench to tighten the lug nuts to the manufacturer's recommended specifications. Start with a crisscross pattern to ensure even tightening.
Congratulations! You've successfully replaced your brake pads. However, there are a few additional tips and precautions to keep in mind.
Tips for Safe and Effective Brake Pad Replacements
- Always refer to your vehicle's owner manual for specific instructions and torque specifications.
- Use caution when working with brake components, as they can be hot after driving.
- Be sure to wear safety glasses and gloves to protect yourself from any potential hazards.
- Take your time and double-check your work at each step to ensure everything is installed correctly.
- If you're unsure about any part of the process, consult a professional or seek guidance from experienced individuals.
By following these tips, you can ensure a safe and effective brake pad replacement every time. However, it's also important to be aware of common mistakes to avoid during the process.
Common Mistakes to Avoid During Brake Pad Replacements
1. Neglecting to properly lubricate the brake caliper slides: Failing to lubricate the caliper slides can result in uneven brake pad wear and reduced braking performance.
2. Reusing old hardware: It's essential to replace worn or damaged hardware, such as shims, clips, and retaining springs, to ensure proper brake pad alignment and function.
3. Mixing up the inner and outer brake pads: Each brake pad is designed for specific sides of the vehicle. Installing them incorrectly can cause uneven wear and potential braking issues.
4. Over-tightening the lug nuts: Over-tightening the lug nuts can lead to stripped threads, warped brake rotors, and difficulty in future wheel removal.
5. Skipping the brake rotor inspection: Inspecting the brake rotors for wear, damage, or warping is crucial. Neglecting this step can result in poor braking performance and premature brake pad wear.
Avoiding these common mistakes will help you achieve optimal braking performance and maximize the lifespan of your brake pads. Now, let's discuss the signs that indicate brake pad replacements are needed.
Signs That Indicate Brake Pad Replacements Are Needed
1. Squeaking or squealing noises: If you hear high-pitched noises when applying the brakes, it's a sign that the brake pads are worn and need to be replaced.
2. Grinding or growling sounds: A grinding or growling noise indicates that the brake pads have worn down completely, and the metal backing is now in contact with the rotor. Immediate replacement is necessary to prevent further damage to the rotor.
3. Reduced braking performance: If you notice that your vehicle takes longer to stop or the pedal feels spongy, it's a clear indication that the brake pads have worn down and need to be replaced.
4. Vibration or pulsation in the brake pedal: A vibrating or pulsating brake pedal can be a sign of warped brake rotors. This issue can arise from prolonged driving with worn brake pads.
5. Warning light on the dashboard: Many modern vehicles are equipped with a brake pad wear sensor that triggers a warning light on the dashboard when the brake pads are worn and need replacement.
If you experience any of these signs, it's essential to inspect your brake pads and replace them promptly to maintain your vehicle's braking performance and safety. However, choosing the right brake pads for your vehicle can be overwhelming. Let's explore the different types of brake pads available and their advantages.
Different Types of Brake Pads and Their Advantages
1. Organic Brake Pads: Made from a mixture of fibers, fillers, and binding agents, organic brake pads provide quiet operation and low brake dust. They are an excellent choice for everyday driving and are typically more affordable than other types.
2. Semi-Metallic Brake Pads: Composed of metal fibers mixed with fillers and a bonding agent, semi-metallic brake pads offer excellent stopping power and durability. They are suitable for heavy-duty applications and high-performance vehicles but can produce more brake dust and noise.
3. Ceramic Brake Pads: Constructed from a dense ceramic material, ceramic brake pads deliver superior braking performance, reduced noise, and minimal brake dust. They are ideal for luxury vehicles and those seeking a quiet and clean braking experience. However, ceramic brake pads tend to be more expensive than other options.
Choosing the right brake pads for your vehicle depends on your driving habits, vehicle type, and personal preferences. Consider these factors when making your selection to ensure optimal braking performance and longevity.
Now that you're equipped with the knowledge to choose the right brake pads, let's discuss some maintenance tips to prolong their lifespan.
Maintenance Tips to Prolong the Lifespan of Brake Pads
1. Avoid aggressive driving: Excessive speeding, hard braking, and abrupt stops can accelerate brake pad wear. Practice smooth and controlled driving to minimize unnecessary stress on the brake pads.
2. Regularly inspect the braking system: Routinely examine the brake pads, rotors, and calipers for signs of wear, damage, or uneven wear. Address any issues promptly to prevent further damage and ensure optimal braking performance.
3. Keep the braking system clean: Clean the braking components regularly to remove any dirt, grime, or brake dust that can accumulate and affect braking performance. Use a brake cleaner to ensure thorough cleaning.
4. Be mindful of load capacity: Overloading your vehicle can put excessive strain on the braking system, leading to accelerated brake pad wear. Follow the manufacturer's recommended load limits to maintain optimal braking performance.
5. Replace brake fluid regularly: Brake fluid absorbs moisture over time, which can lead to corrosion and reduced braking performance. Replace the brake fluid as recommended by the vehicle manufacturer to ensure optimal braking efficiency.
By following these maintenance tips, you can extend the lifespan of your brake pads and ensure consistent braking performance throughout their usage.
In conclusion, DIY brake pad replacements offer a cost-effective and empowering solution to maintaining your vehicle's braking system. By understanding the importance of brake pad replacements, gathering the necessary tools, and following our step-by-step guide, you can confidently perform this essential maintenance task on your own.
Remember to prioritize safety at every step, avoid common mistakes, and be aware of the signs that indicate brake pad replacements are needed. Choose the right brake pads for your vehicle and follow proper maintenance practices to prolong their lifespan and ensure optimal braking performance.
Now that you have the knowledge and tools to perform your own brake pad replacements, you can save money, gain a sense of accomplishment, and hit the road with confidence, knowing you have a firm grip on your vehicle's braking system. Happy DIY brake pad replacements!







Follow us on social media