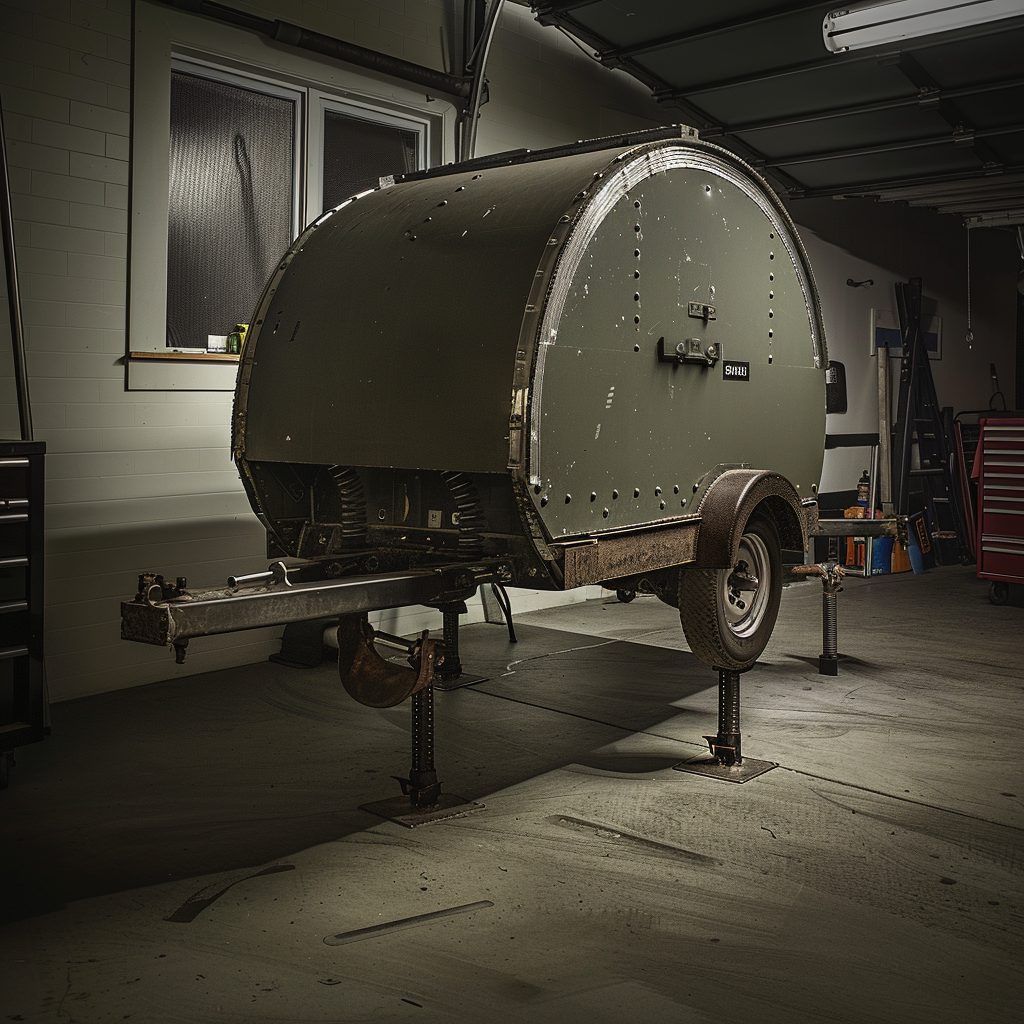
On small trailers with leaf springs, the axle can be mounted below the springs (spring-over-axle) or above the springs (spring-under-axle). Either configuration can be correct depending on ride height, ground clearance, fender clearance, and how the axle was manufactured. The non-negotiable rule: the axle’s built-in camber (crown) must face up, and the spring perches must match that orientation. This guide explains what each configuration does, how to choose the right one, how much height will change, and how to convert safely without flipping the axle tube.

JACK SERVICE 15 TON AIR/ HYD BOTTLE STAND CLS-15
Mfg: Mahle Service Solutions
Part #: 3034659

143021 454200C JET JET454200C 22 Ton Air/Hydraulic Service Jack
Mfg: JET
Part #: 454200C

1) Key Terms: SOA vs SUA, Overslung vs Underslung, and Axle Camber
Trailer technicians and off-road techs often use different terms for the same layouts. Here’s the plain-language breakdown:
- Spring-Over-Axle (SOA): The leaf springs sit on top of the axle tube. Practically, that means the axle is under the springs. This raises the frame/deck relative to the axle and increases ground and fender clearance.
- Spring-Under-Axle (SUA): The leaf springs sit below the axle tube. Practically, the axle is on top of the springs. This lowers the frame/deck for easier loading and a lower center of gravity, at the expense of ground and plumbing clearance.
- Overslung/Underslung: In trailer parts catalogs, an “underslung” axle commonly means the axle is mounted under the springs (SOA). An “overslung” axle commonly places the axle over the springs (SUA). Check the manufacturer’s diagram; terminology varies by brand.
- Axle camber (crown): Most beam trailer axles are intentionally bowed so the middle sits higher than the ends when unloaded. Crown must face up. Under load, the axle straightens and wheel camber approaches vertical. This improves tracking and tire wear.
Important orientation rule: If the spring perches (seats) are welded to the axle, their location dictates whether the axle sits above or below the springs. You can’t simply rotate the axle 180° to “flip” it—doing so would put the camber upside down and ruin handling and tire wear. To change configuration, you add or weld a second set of perches on the opposite side of the tube, keeping the crown up.
2) Choosing an Orientation: Lower Deck vs Higher Clearance
Select the configuration that best supports the trailer’s mission and tow vehicle height.
- Choose spring-under-axle (axle above springs) to lower the deck when:
- You want easier loading/unloading for lawn equipment, bikes, ATVs, or shop deliveries.
- You tow with a low vehicle and want a level trailer without a massive drop hitch.
- You want lower center of gravity and reduced sway in crosswinds.
- Choose spring-over-axle (axle below springs) to raise the deck when:
- You need ground clearance on job sites, gravel/dirt roads, or boat ramps.
- You tow with a truck/SUV and want fender and frame clearance to avoid scraping.
- Your RV/camper has waste plumbing or stabilizers that hang low; raising prevents strikes.
Do not mix orientations side-to-side to “compensate for road crown.” Both sides must match. Asymmetry will twist the frame, upset handling, and rapidly destroy tires and bearings.
3) How Much Height Changes, and What to Measure
Converting orientation typically changes the trailer deck height by roughly the axle tube diameter plus the spring pack thickness, plus perch height. In practice, most small trailers see a change of about 4–6 inches. Measure instead of guessing.
Before you purchase parts, record these dimensions:
- Axle tube outer diameter: Common sizes are 1.75 in, 2.375 in (2-3/8), and 3.0 in. Measure with calipers or a tape and a contour gauge.
- Leaf spring pack thickness at the center bolt.
- Perch height (seat thickness), if you can measure it.
- Fender/wheelhouse clearance: From top of tire to fender underside, and from tire sidewall to inner structure, at static ride height.
- Bump travel: Available upward travel before the axle or tire contacts the frame, fender, or body.
- Hitch level: Current coupler height when the trailer is level and loaded. Compare to the tow vehicle’s hitch height with the ball mounted.
Estimated net change moving from SUA to SOA (or vice versa) is:
Net change ≈ axle tube OD + spring pack thickness + perch height (usually small)
Verify that the new height won’t cause tire rub, fender strikes, or steep driveline angles on surge-brake couplers. For RVs, confirm tank and plumbing clearance; for boat trailers, consider launching angle and skeg clearance.
4) Parts, Tools, and Safety Prep
To change configurations correctly, you do not rotate the axle. You add perches to the opposite side while maintaining crown-up orientation. Many shops use a weld-on perch kit specifically sized to the axle tube.
Common parts for a conversion (varies by axle and GVWR):
- Perches/spring seats sized to axle OD (e.g., 2-3/8 in or 3.0 in)
- New U-bolt kit(s) with tie plates and nuts (always replace U-bolts)
- New spring center bolts if corroded or damaged
- Shock mounts or tabs (if your trailer has shocks), sized for the new orientation
- Cable clamps, loom, and grommets to reroute electric brake wiring
- Flexible brake line extensions or re-routing hardware (for hydraulic brakes, if equipped)
- Anti-seize for U-bolt threads if specified by manufacturer; otherwise install dry per spec
- Primer/paint to coat newly welded perches
Tools:
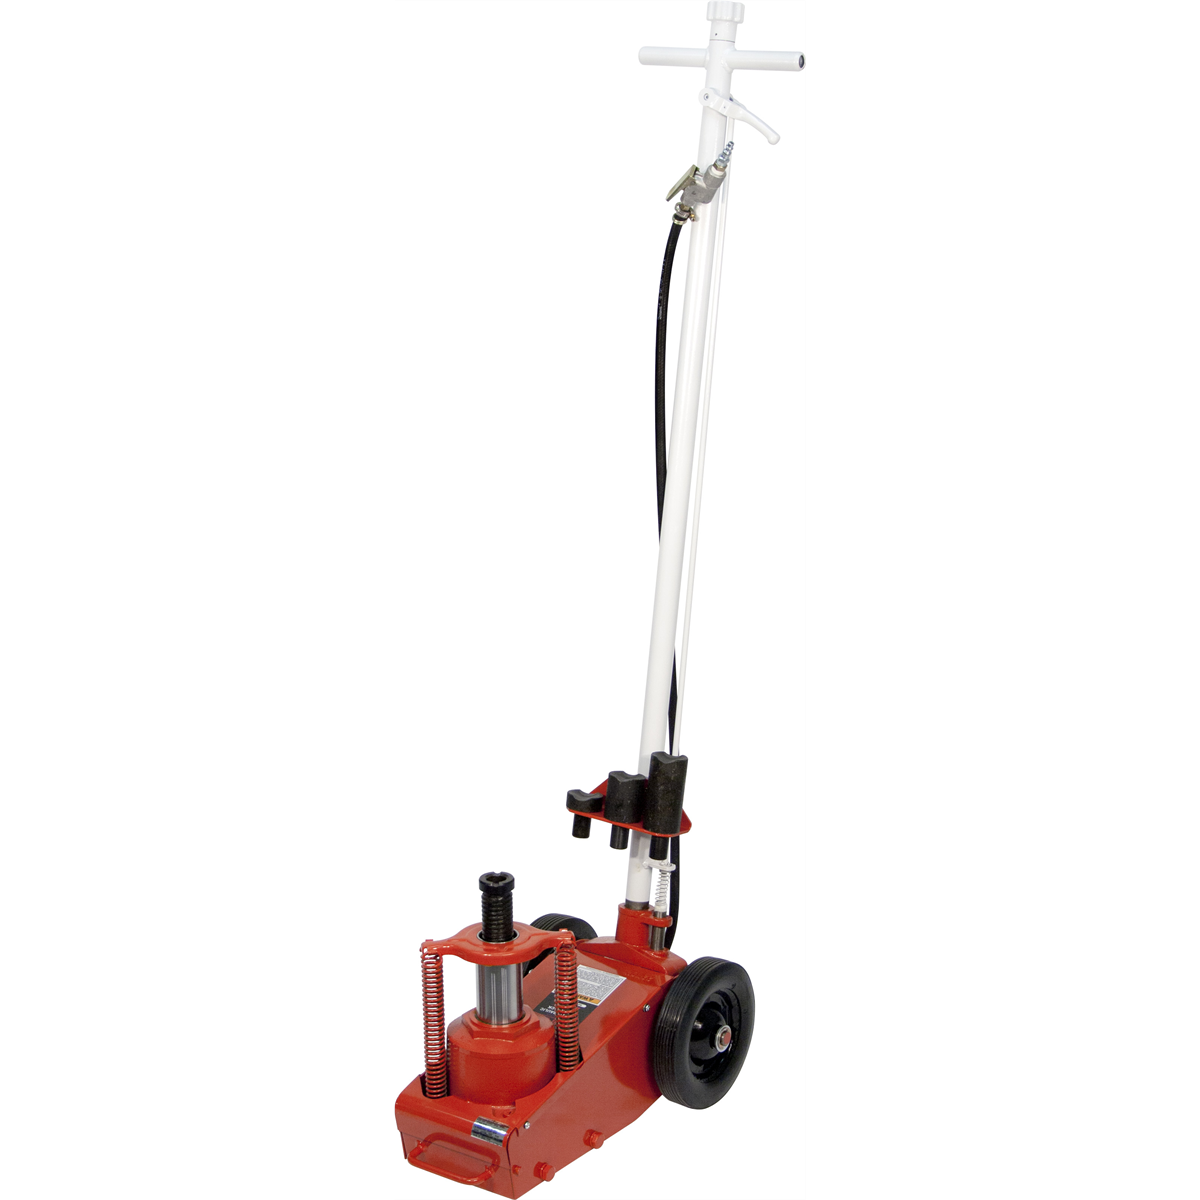
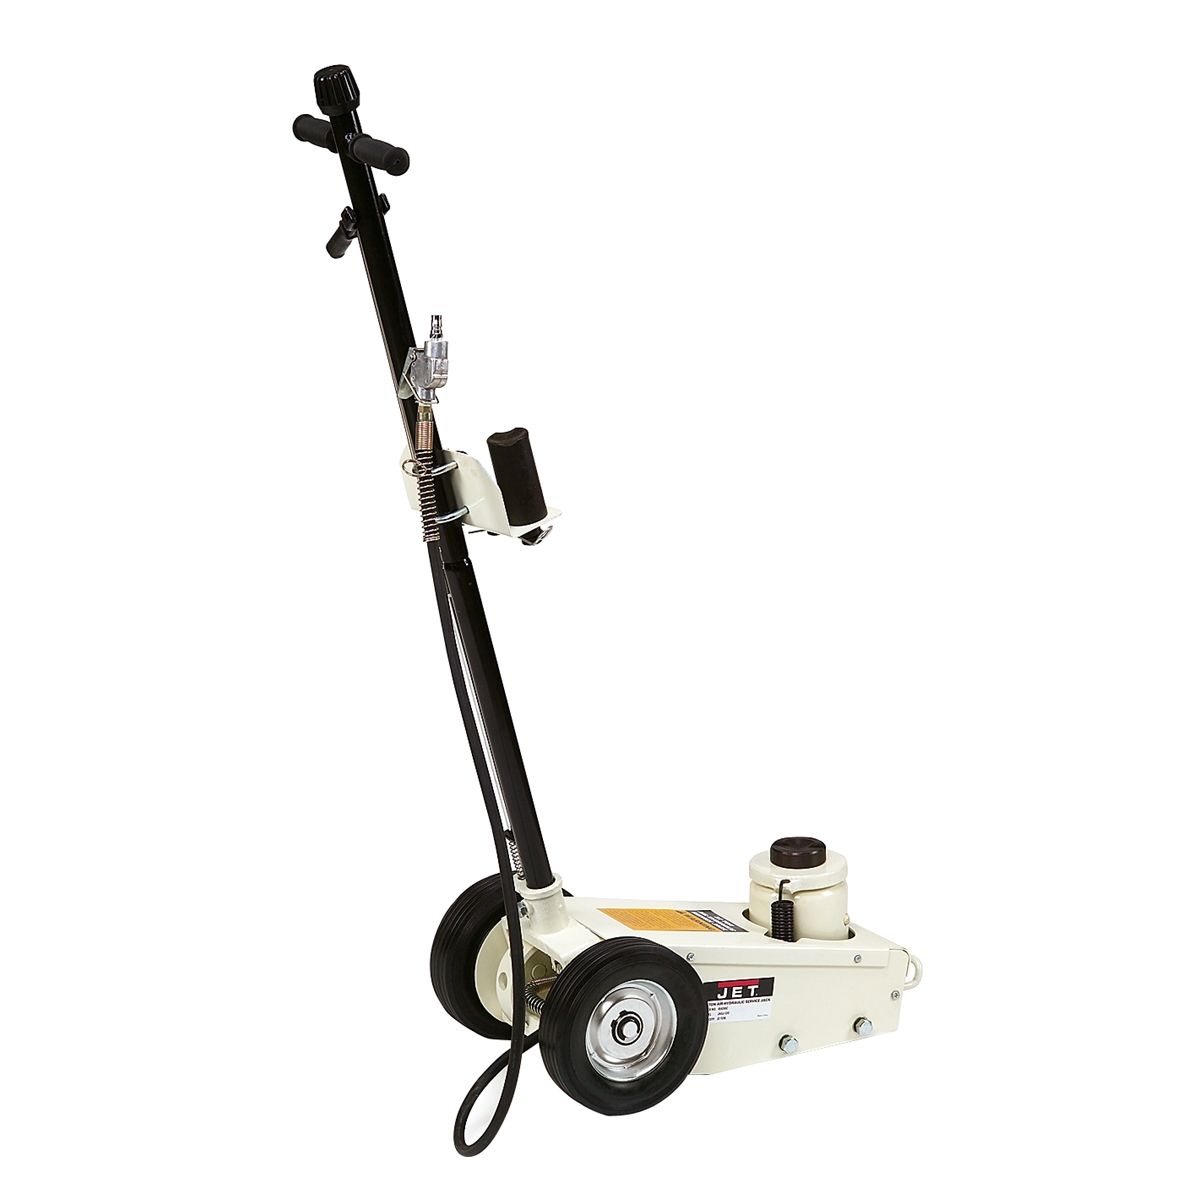
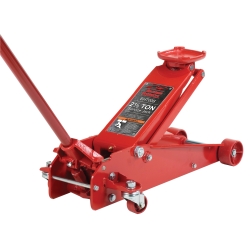
- Jack and appropriately rated jack stands to support the frame (never support by the axle when removing perches)
- Wheel chocks
- Torque wrench covering 65–150 ft-lb (typical U-bolt ranges; check manufacturer specs)
- Wrenches/sockets for U-bolts, shackle bolts, and tie plates
- Angle finder/level and measuring tape
- Marker or paint pen to mark “CAMBER UP” and perch positions
- Welder and PPE (or schedule a certified welder)
Short pre-job checklist:
- Confirm this is a leaf-spring beam axle (not a torsion axle).
- Identify the axle’s crown and mark “UP.”
- Inspect existing perches to see which side they’re welded to.
- Measure fender and frame clearances at full bump.
- Plan wiring/brake hose routing with enough slack for the new layout.
- Order the correct perch ID and U-bolt diameter/length for the axle and spring pack.
5) Step-by-Step: Convert Orientation Without Flipping the Axle
This procedure covers moving from SUA to SOA or vice versa by adding/welding perches on the opposite side of the axle tube. If you’re not equipped to weld, remove the axle and take it to a qualified welder with your measurements. Keep heat away from the spindle and bearing areas.
- Secure and support: Park on level ground, chock wheels, and place the frame on rated jack stands ahead of the spring hangers. Leave the jack under the frame as a secondary support. Do not rely on the jack alone.
- Remove wheels and disconnect brakes: Pull the wheels. For electric brakes, unplug the axle wiring at the junction box or cut and label wires for re-termination later. For hydraulic brakes, cap lines to prevent contamination and minimize bleeding later.
- Relieve spring tension: Support the axle with a jack. Loosen then remove U-bolts and tie plates. Lower the axle free from the springs. Keep track of the spring center bolt head and perch locating hole.
- Mark camber and datum: With the axle out, wipe it clean and mark the crown “UP.” Scribe reference lines at perch centers relative to the hub faces so you can duplicate spring centers when installing new perches.
- Mock-up the new perch position: Place the new perches on the opposite side of the tube so the spring center bolt will seat in the perch hole. Keep the crown mark facing up. Use an angle finder to ensure the perches are parallel to the existing ones and square to the axle centerline.
- Check pinion/brake backing plate clocking: On braked axles, ensure the brake backing plates will sit correctly (usually vertical anchor pin up) when installed. Correct clocking is achieved automatically if you keep the crown up and duplicate the perch angle. If shocks are present, confirm mount angles and order new tabs if needed.
- Tack-weld, then verify: Tack the perches in place. Refit the axle to the springs with temporary U-bolts or clamps. Lower the frame onto the axle to simulate load. Confirm spring center bolt engagement, axle square to frame (measure hub face to coupler on both sides), and adequate fender/tire clearance.
- Final weld: Remove the axle and complete perimeter welds on the perches using proper welding procedure. Stitch weld opposite sides in sequence to limit heat input and avoid warping the tube. Do not weld near spindle welds or bearing seats. Let cool, then prime and paint.
- Reinstall axle: Place the axle onto/under the springs per your chosen configuration with the crown up and perch holes capturing the spring center bolts. Install new U-bolts and tie plates. Snug evenly.
- Torque U-bolts: Torque in a crisscross pattern in stages. Typical values: 1/2 in U-bolts 65–90 ft-lb, 9/16 in 95–120 ft-lb, 5/8 in 120–150 ft-lb. Always follow the axle/suspension manufacturer specs if provided.
- Reconnect brakes and wiring: Route electric brake wiring along the axle with clamps and loom, allowing slack for suspension travel. For hydraulic brakes, reattach lines, check for kinks, and bleed the system.
- Install wheels and set ride height: Refit wheels, lower to ground, torque lug nuts to spec, and verify the trailer sits level with your tow vehicle. Adjust hitch height or shank drop/rise as needed.
6) Post-Install Checks, Torque, and Common Pitfalls (with FAQs)
Finish the job with a careful inspection and road test.
- U-bolt retorque: Re-torque after the first 25–50 miles and again at 200 miles. Leaf stacks settle and paint compresses under the nuts.
- Axle square: Measure from each hub face to the coupler. The measurements should match within a few millimeters. If not, loosen U-bolts, square it, and re-torque.
- Brake function: Test electric brake operation and breakaway switch. For hydraulic brakes, verify pedal feel and adjust free-backers as applicable.
- Clearances: Bounce the trailer and confirm no tire/fender contact at full bump. If close, raise fenders or add bump stops.
- Shackle angle: On single-axle trailers, shackles typically lean slightly rearward at rest. On tandems, verify equalizer sits neutral and shackles articulate freely.
FAQs
Q1: Can I just rotate the axle to move it from over to under the springs?
A: No. Rotating the axle puts the built-in camber upside down, causing poor tracking and rapid tire wear. The correct method is to keep the crown up and add perches to the opposite side of the tube (often called an “axle flip” kit), then reassemble with new U-bolts.
Q2: How do I tell which way the axle camber faces?
A: Viewed from the side, a cambered beam axle has a slight upward bow at the middle when unloaded. Many axles also have a center mark or label indicating “top.” If it looks perfectly straight, wipe it clean and sight along the tube; even new axles can have subtle camber that’s easy to miss. When in doubt, consult the axle tag or manufacturer.
Q3: Is SOA or SUA better for stability?
A: A lower deck height (SUA: axle above springs) generally lowers the center of gravity and can reduce sway. However, proper weight distribution, tongue weight (10–15% of gross), correct tire pressures, and good shocks (if equipped) matter more. Choose the configuration that gives safe clearances while supporting proper load distribution.
Q4: Do I need an alignment after moving the axle?
A: Solid beam trailer axles don’t have adjustable toe/camber in service. Alignment is set by axle build and spring perch location. You should ensure the axle is square to the frame (equal hub-to-coupler measurements). If tires show abnormal wear after the change, check loading, bearings, and verify the axle wasn’t overheated or distorted during welding.
Q5: Can I reuse my U-bolts?
A: Don’t. U-bolts stretch when torqued and may be corroded. Replace them with the correct diameter, thread pitch, and length for your axle tube and spring pack.
Q6: What about torsion axles?
A: Torsion axles don’t use leaf springs or perches and cannot be “flipped” in the same way. To change ride height on a torsion system, you typically replace the axle with a different start angle or use manufacturer-approved spacers/brackets designed for that axle.
Common pitfalls to avoid:
- Mixing configurations left vs right (never do this).
- Welding perches without controlling heat, causing tube warp.
- Routing brake wires tight across moving joints—leave slack and protect with loom.
- Ignoring fender and bump-stop clearance after lowering.
- Forgetting to re-torque U-bolts after initial miles.
With the crown up, perches properly installed, and clearances verified, either configuration can be correct. Choose based on the work your trailer does, set it up carefully, and document torque and measurements for the next service interval.
Shop Jacks & Stands
When converting trailer axles, support the frame with Heavy Duty Jack Stands so the axle can be repositioned safely and hardware torqued correctly.
- Floor jacks sized for trailers, trucks, and SUVs.
- Pin- and ratchet-style jack stands for stable frame support.
- Wheel chocks and support accessories for secure setup.
The Toolsource Technical Team blends decades of real-world automotive service experience with up-to-date technical research. Our writers collaborate with professional mechanics, shop owners, and diagnostic specialists to deliver practical, workshop-ready guidance you can trust.

Follow us on social media