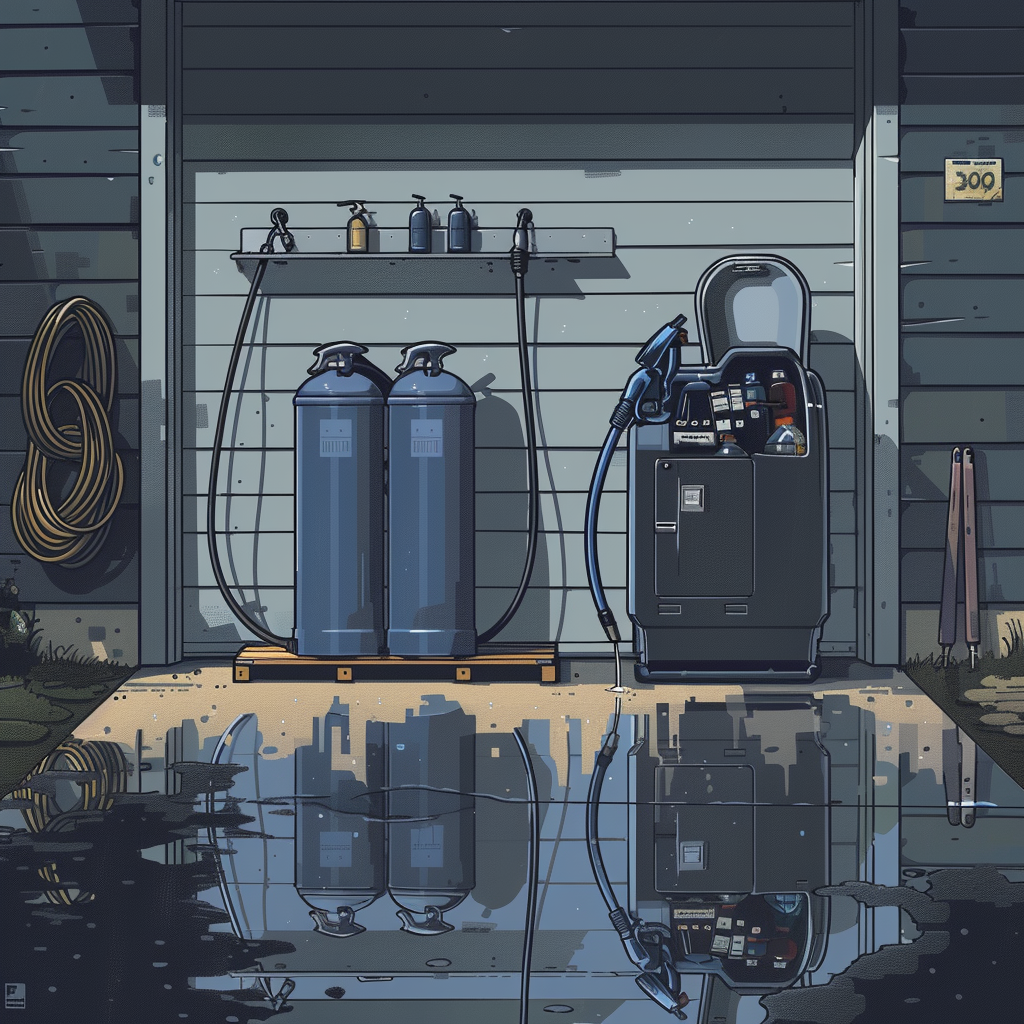
This guide walks you through planning, mounting, and plumbing a wall‑mounted pressure washer with a deionized (DI) water rinse, hose reel, slatwall storage, and a user-friendly valve layout. The objective is fast setup, clean results, and easy maintenance without dragging equipment out for every wash.

Electric Cold Pressure Washer, 1400 PSIG, 2.0/2.11 GPM
Mfg: Jenny Products
Part #: HPJ-1420-E
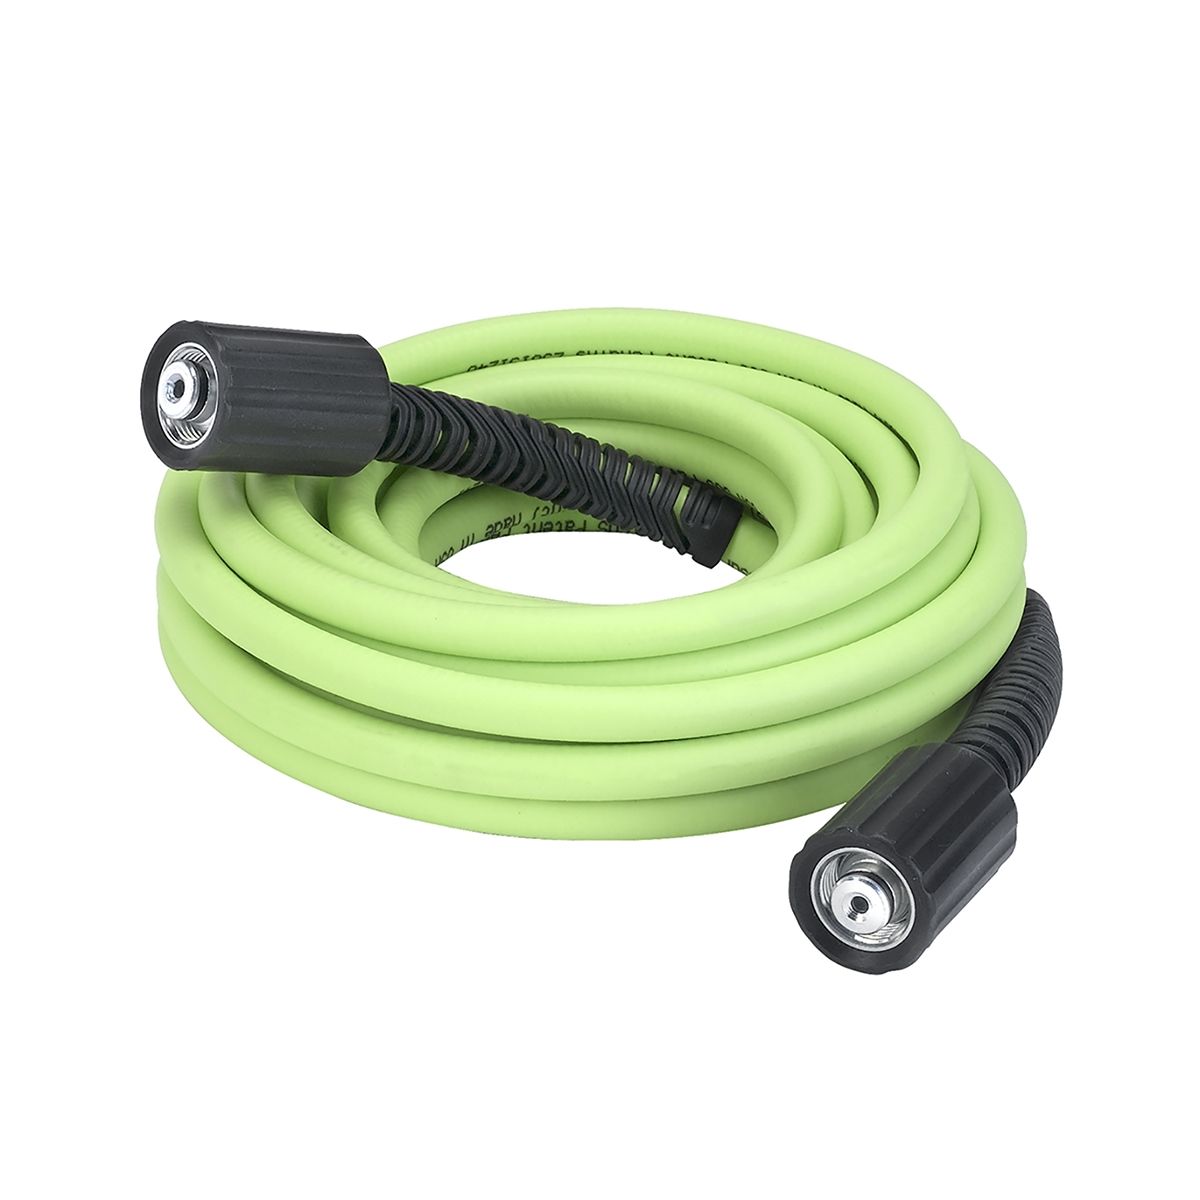
Flexzilla one four inchx25' Pressure Washer Hose w/ M22ftgs
Mfg: Legacy Manufacturing
Part #: HFZPW3425M
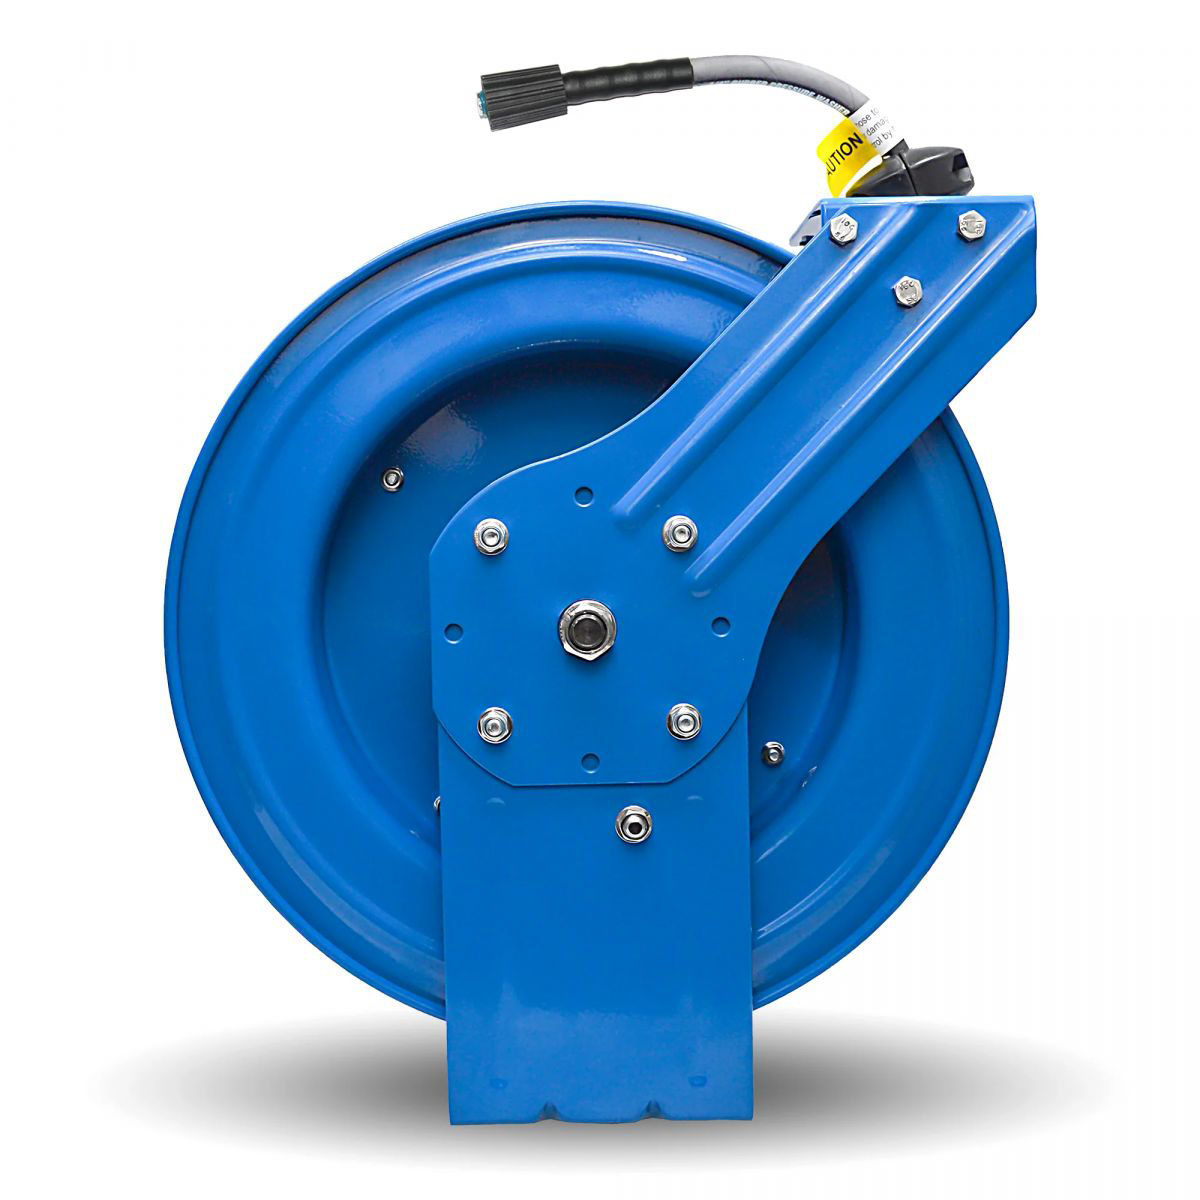
BluBird Blushield Polyester Pressure Washer Hose Reel Heavy Duty Single Arm Assembly one four inch x 50'
Mfg: blubird
Part #: PWRHD1450-NM
Plan the System: Water, Power, Layout, and Noise
Before buying parts, confirm the fundamentals:
- Water supply: Minimum 2.0–2.5 GPM at the spigot is ideal for compact electric pressure washers. Use a pressure gauge and bucket test to verify. If flow is marginal, run the pre-rinse on tap water and use DI only for the final rinse to conserve throughput.
- Power: Provide a dedicated 15 A or 20 A GFCI-protected circuit. Compact units (e.g., “Active 2.0” class) can draw near 13–14 A under load. Hard-mount a weather-resistant switch or use an in-line power switch for quick control.
- Drainage: Plan for splash and drips. If your slab lacks a drain, consider a squeegee path to the driveway, interlocking floor tiles with flow channels, or a compact trench drain near the door.
- Noise: Electric units are quieter than gas, but wall reverberation and early-morning use can still transmit noise indoors. Use rubber isolation mounts under the machine, mount on a rigid backer panel, and install the pump on an interior wall away from bedrooms when possible.
- Service access: Leave space to swap DI resin, pull filters, or unbolt the pressure washer. Unions and quick-connects are worth the cost.
Map the layout on the wall. A typical left-to-right flow is: water inlet and valves – DI system – outlet tee to pressure washer and bucket fill – hose reel – wand parking. Keep hose bends large-radius and avoid running power above open water lines.
Choose Components That Work Together
Successful builds pair a compact, capable pressure washer with a robust reel, quality hose/fittings, a DI system sized for your water hardness, and a sturdy wall mounting strategy.
- Pressure washer: A compact electric unit in the “Active 2.0” class delivers strong residential performance and good foam cannon behavior. Look for 2.0+ GPM (actual), 1000–1500 PSI under load, and a standard M22-14 outlet. Noise is the main downside of many high-output compacts.
- Hose reel: Commercial-grade reels (e.g., Cox-style hand-crank) are more expensive but coil smoothly and last. Black finishes hide grime and match modern garages. Verify foot-mounted or wall-plate compatibility with your backer panel.
- High-pressure hose: 3/8 in ID, 40–100 ft, non-marking, with M22 or 3/8 in QC ends. Keep runs as short as practical to save pressure and reduce coil resistance.
- Wand and gun: Short trigger guns with swivel inlets reduce wrist strain. Pair with stainless or brass quick-connects and a 20–40 in lance for reach. Keep a dedicated lance for foam cannon use.
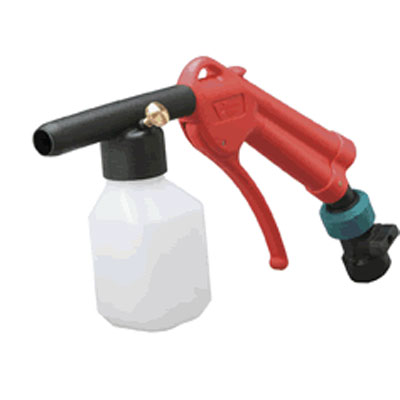
- Foam cannon: Choose an adjustable orifice foam cannon with a 1.1 mm or 1.25 mm injector, depending on your washer output. Ensure your soap is cannon-friendly and dilute per label.
- DI water system: A twin-canister mixed-bed resin system (e.g., CR Spotless style) is a proven option. Size the canisters to your hardness and anticipated wash volume. Include a TDS meter to monitor output and trigger resin changes.
- Valves and fittings: Use full-port brass ball valves for low restriction and tactile feedback. Consider a check valve if you want to prevent backflow in simplified layouts. Install unions near the DI head for serviceability.
- Plumbing materials: Use PEX or copper inside walls, transition to brass nipples/stubs at exits, and schedule 40 PVC for external cold-water manifolds where code permits. Avoid brittle CPVC in exposed areas—temperature cycling and impact can shorten its life.
- Mounting and storage: A slatwall system (e.g., ProSlat) keeps bottles and tools organized. For heavy items, mount them to a 3/4 in melamine/MDF or plywood backer panel anchored directly to studs, then trim slatwall around it. Use metal bottle racks for 16–32 oz sprayers and 1–1.5 L pump sprayers.
Plumbing the DI Bypass and Bucket Fill Tee
A simple, reliable plumbing scheme lets you pre-rinse on tap water, then switch to DI water for the final rinse. Build a bypass so you can use the pressure washer with or without DI and service the canisters without shutting down the entire garage supply.
Recommended 3-Valve DI Bypass
Use a U-shaped bypass around the DI canisters:
- Inlet valve (tap supply to DI): Controls water entering the DI canisters.
- Outlet valve (DI return): Controls DI output returning to the main line.
- Bypass valve (bridge): Directs water to bypass the DI canisters.
Operation:
- Tap mode (bypass for pre-rinse): Close Inlet and Outlet valves; open Bypass valve.
- DI mode (spot-free final rinse): Open Inlet and Outlet valves; close Bypass valve.
This setup avoids partially mixing DI with tap water, preserves resin, and isolates the canisters for service. Use full-port ball valves and keep the flow path straight to minimize restriction.
Single-Valve Check-Valve Option
If you want to reduce handle count, you can combine a spring check valve on the bypass bridge with a single control valve on the DI leg. This can work, but assess:
- Restriction: Many PVC check valves add pressure drop. Confirm the Cv and compare to your washer’s flow needs.
- Service: Check valves can stick with debris. Add unions for quick replacement.
- Backflow prevention: Local code may still require a vacuum breaker at the supply. A check valve in the bypass isn’t a substitute for mandated backflow devices.
Bucket Fill Tee
Add a tee downstream of the bypass to a hose bibb for bucket filling and general rinsing. A quarter-turn valve with a garden-hose thread spout is convenient. If you have a nearby exterior spigot, you can skip this; however, an indoor bucket-fill port speeds up wash cycles.
Parts and Assembly Notes
- Use brass or stainless for threaded adapters; apply PTFE tape and a thin thread sealant to avoid weeping joints.
- Install a sediment prefilter if your water carries grit; it protects valves and resin.
- Orient DI canisters per the arrows on the head; mount with enough clearance above to unscrew the housings.
- Include unions on both DI in and out lines. If the head cracks or the housing seizes, you can remove the assembly without cutting pipe.
- Label valves: TAP, DI, BYPASS, and BUCKET to make mode changes foolproof for any user.
Mounting to Slatwall or Studs: Safe, Serviceable Installation
Mount heavy gear to structure, not just slatwall. Here’s a proven approach:
- Backer panel: Cut a 3/4 in melamine/MDF or plywood panel that spans at least two studs. Prime/seal edges if using MDF to resist moisture. Paint or laminate for a clean look.
- Stud anchoring: Use 5/16–3/8 in lag screws into studs for the backer panel. Pre-drill to prevent splitting and use fender washers for bearing surface.
- Slatwall integration: Install slatwall panels around the backer panel, or cut the slatwall to fit around pre-mounted gear. Keep slatwall for shelves, bottle racks, and light accessories.
- Pressure washer mount: Use the manufacturer’s plate or a universal bracket. Add rubber isolation feet or grommets to reduce vibration transmitted to the wall.
- Hose reel: Mount at shoulder height so hand-cranking is natural and hose exiting clears the washer. Use through-bolts with lock nuts through the backer panel when possible.
- Hose management: Route a 3/8 in whip from the washer to the reel with a gentle radius. Use clamps or P-clips so the hose doesn’t rub sharp edges.
- Electrical: Install a nearby GFCI receptacle with an in-use cover if moisture is possible. Keep cords above splash lines and secure them.
- Drip control: Place a shallow drip tray under the DI canisters and pressure washer connections. Add a towel bar or catch shelf for wet wands.
Finally, stage bottles and sprayers on dedicated wall racks. Separate corrosives (acids) and oxidizers from metal hardware and keep lids tight to prevent fumes attacking nearby fittings.
Operation, Maintenance, and Troubleshooting
Daily Use
- Pre-rinse: Set valves to Tap/bypass mode. Rinse loose dirt.
- Foam: Attach foam cannon; run your choice of pH-balanced soap.
- Contact wash: Use two-bucket or multiple mitts. If you installed a bucket-fill tee, top buckets indoors to avoid dragging hoses.
- Final rinse: Switch valves to DI mode. Rinse from top down. Do a quick sheeting rinse to reduce drying time.
- Drying: Use a blower and a spray sealant or drying aid as desired.
Resin and Filter Care
- Monitor TDS: Replace resin when DI output consistently exceeds 10–20 ppm (or your acceptable threshold).
- Resin life: Depends on inlet TDS, flow, and how often you use DI vs. tap. Using DI only for the final rinse dramatically extends resin life.
- Housing service: Lubricate O-rings with silicone grease; tighten hand-snug plus a fraction turn. Never overtighten.
Pressure Washer Care
- Hose/connection leaks: Replace worn O-rings. Use stainless QC sets for durability.
- Pump health: Avoid deadheading. Pull the trigger briefly before shutting down to bleed pressure.
- Noise: Add isolation pads and check that the backer panel is firmly anchored. Rattles often come from loose quick-connects and unsecured hose runs.
Removing or Servicing the DI System
If you design with unions and a flexible service loop, the DI assembly can be removed without cutting pipe. If you did not include unions, you may have to cut and re-couple the inlet/outlet lines—plan for this by leaving straight pipe sections for future repairs.
Chemical Storage
- Freeze risk: Many soaps and quick detailers can survive one freeze-thaw but may separate or lose performance. Silica-based sprays and sealants are more sensitive; store between 40–80°F when possible.
- Heat: Avoid prolonged storage above 100°F; it can degrade polymers and fragrances.
- Ventilation: Keep caps tight and store away from open electrical outlets or bare metal that can corrode from fumes.
Cold-Climate and Safety Considerations
Winterization
- Drain lines: Shut water, open the lowest valve, and let gravity drain. Crack ball valves mid-open so trapped water can expand.
- Blowout: Use low-pressure compressed air (20–30 psi) to blow out lines, DI head, and the pressure washer pump via the inlet. Don’t overspeed the pump with high pressure.
- Pump antifreeze: Run pump-safe RV antifreeze through the washer until it exits the wand. Label the unit as winterized.
- DI canisters: Drain housings; keep resin from freezing if possible. Freezing moisture can crack housings and heads.
Backflow and Code
- Install an atmospheric vacuum breaker or a dual-check backflow device at the supply as required by local code, especially if any chemicals are in proximity.
- Use a hose bibb with integral vacuum breaker for bucket fills.
Material Choices
- PEX vs CPVC: PEX is more tolerant of impact and temperature swings in garages; CPVC can embrittle with age and exposure. Use copper or brass stubs at wall penetrations for durability.
- Threaded transitions: Use brass to bridge plastics to metals; avoid overtightening to prevent stress cracking in plastics.
Drainage and Floors
- Floor tiles: Snap-together tiles let water flow underfoot and keep your work area grippy.
- Slope: Encourage water toward the door or a drain; squeegee after each wash to keep the space dry.
Fast Build Checklist
- Compact electric pressure washer (2.0+ GPM class)
- Hand-crank hose reel and 40–100 ft 3/8 in non-marking hose
- Short trigger gun, lance, nozzles, foam cannon
- DI twin-canister system with TDS meter
- Full-port brass ball valves, optional check valve, unions, hose bibb tee
- PEX/copper, brass nipples, adapters, PTFE tape, sealant
- 3/4 in backer panel, lag screws, isolation pads
- GFCI outlet, cord management, drip tray
- Bottle racks and slatwall accessories
FAQs
Do I need a check valve if I already have a 3-valve DI bypass?
No. A standard three-ball-valve bypass is simple, reliable, and low restriction. A check valve can reduce handle count but adds potential restriction and one more part to service. If you use a check valve, choose a high-Cv model and keep unions for replacement.
Will my soaps and detail sprays be ruined if they freeze?
Some survive a single freeze-thaw, but performance can drop and separation can occur, especially with silica/polymer blends. Store between 40–80°F, and test on a small area after thawing. If a product gels, separates permanently, or smells off, replace it.
Can I wall-mount gear on slatwall alone?
Use slatwall for light loads (bottles, towels, small tools). Heavy items like hose reels, pressure washers, and DI canisters should mount to a stud-backed panel. Slatwall can be cut to trim around the panel for a clean look.
How loud is a compact electric pressure washer and how can I reduce noise?
Compact high-output electrics are far quieter than gas but can still transmit vibration into framing. Isolate the machine with rubber pads, mount to a rigid backer anchored to studs, avoid hollow wall cavities as mounting points, and choose wash hours that minimize disturbance.
How much should I budget?
Quality builds commonly land around $1,500–$2,500 depending on hose reel grade, hose length, DI size, and storage accessories. Spending more on the reel and fittings pays back in reliability and ease of use.
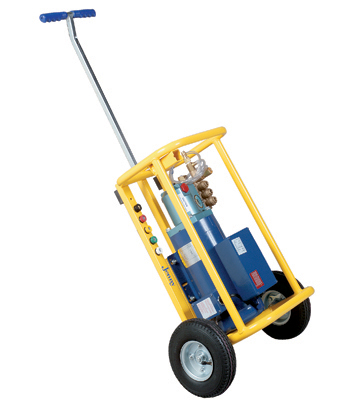
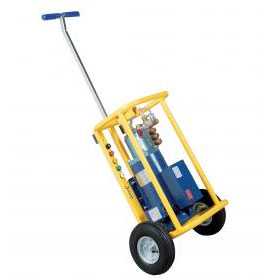
Should I wall-mount or use a cart?
Wall-mounting prioritizes speed and cleanliness; everything is ready to go and cleanly stored. Carts are flexible for detached garages or shared spaces but can be unstable on small wheels and take up floor space. If you go with a cart, choose large pneumatic wheels and strap tanks and reels securely.
Recommended Tools
https://www.toolsource.com/pressure-washers-c-370_397/
The Toolsource Technical Team blends decades of real-world automotive service experience with up-to-date technical research. Our writers collaborate with professional mechanics, shop owners, and diagnostic specialists to deliver practical, workshop-ready guidance you can trust.
Follow us on social media