Pneumatic “air bag” floor jacks are fast and convenient for raising a corner or end of a vehicle, but they are lifting devices only. Just like hydraulic floor jacks, they are not designed to hold a vehicle while you work. This guide lays out when and how to use air bag jacks safely, how they compare to hydraulic options, where to place jack stands (especially when the jack point and stand point seem to conflict), and what to inspect before you lift.
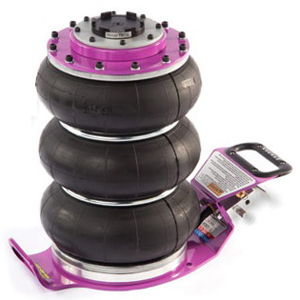


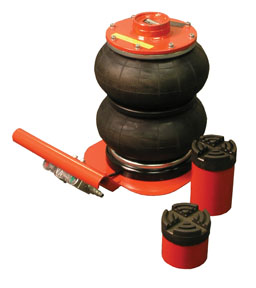
72537 AJ2 Herkules Equipment HERAJ2 HRK-AJ2 2 Bag Air Jack 4500 Lb Capacity
Mfg: Herkules Equipment
Part #: AJ2
Air Bag vs. Hydraulic Floor Jacks: What Technicians Should Know
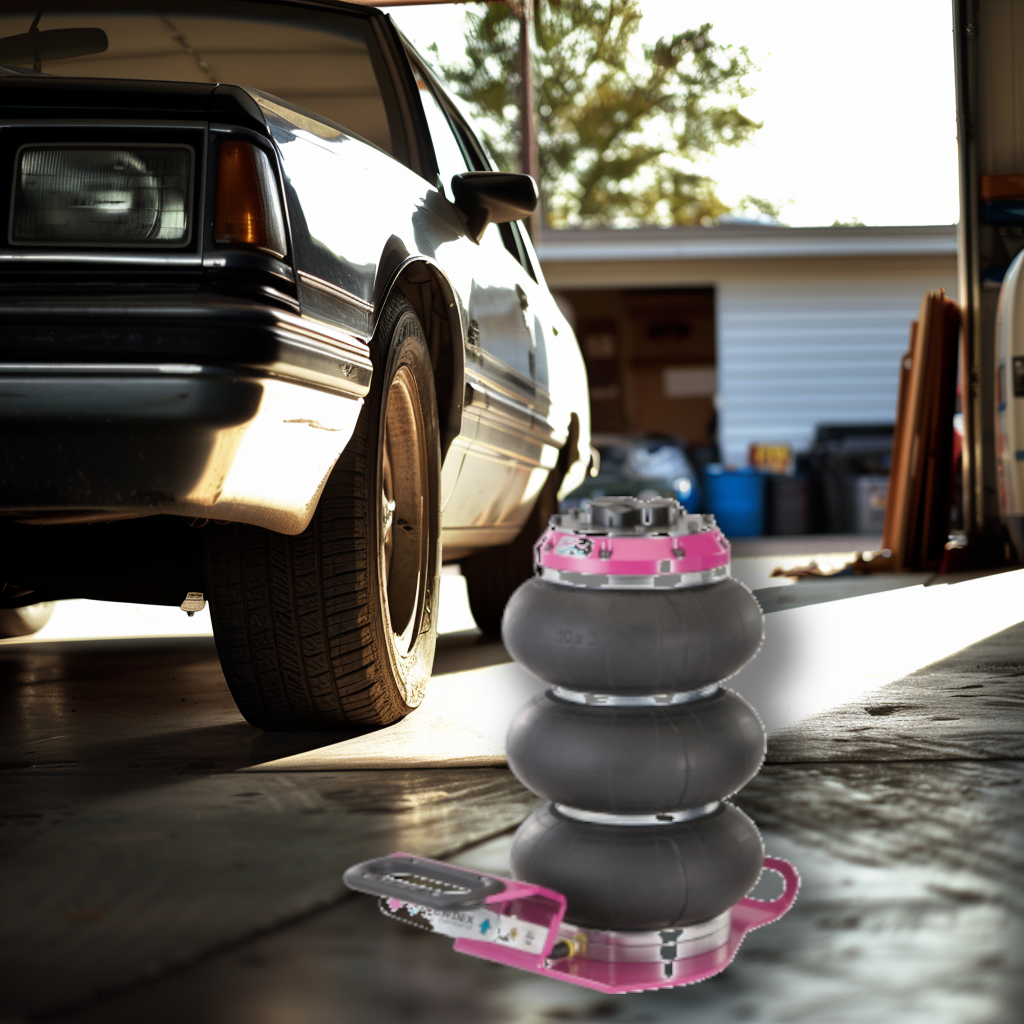
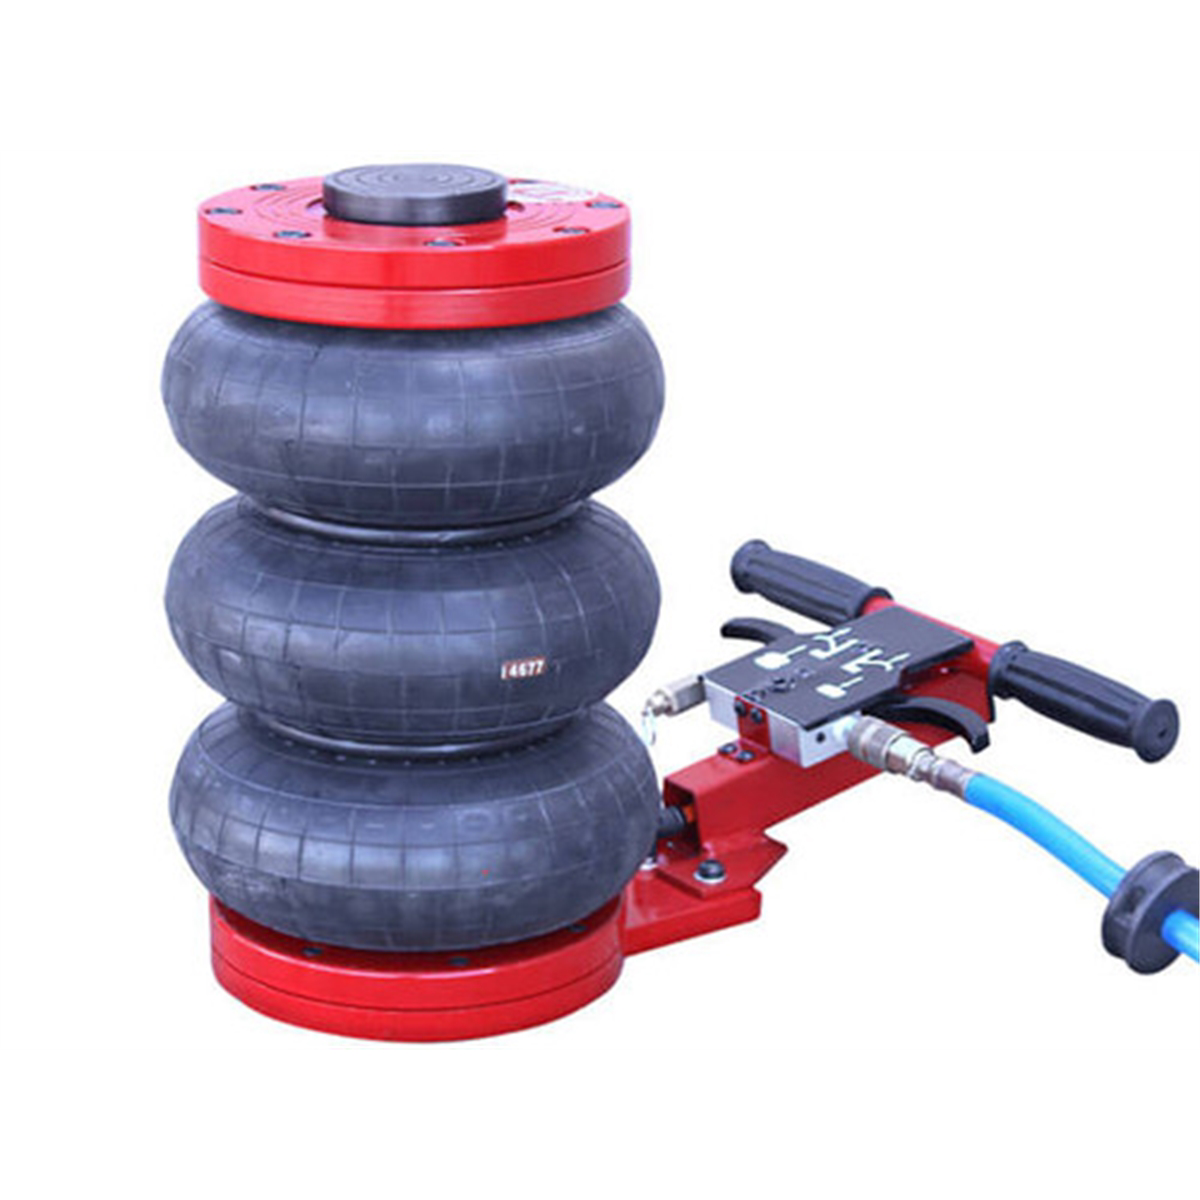
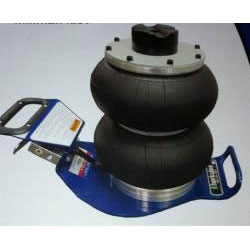
Pneumatic air bag jacks (triple-bag style) use compressed air to inflate a reinforced rubber bladder that raises a lifting pad rapidly. They shine in quick-service scenarios (tire, brake, alignment compensation, under-hoist assist) because they lift in seconds and require minimal pumping effort.
Hydraulic floor jacks use a hydraulic ram and pump. They’re widely proven, precise, and available in low-profile, long-reach, and high-capacity variants. They’re more self-contained (no airline needed) but often slower to initially take up slack, especially under lowered vehicles with limited handle travel.
Key comparisons:
- Speed: Air bag jacks are typically faster from contact to height. Hydraulics offer controlled, incremental lift.
- Minimum height: Many air bag jacks have a higher minimum saddle height and may not fit under lowered vehicles; low-profile hydraulic jacks often win here.
- Surface tolerance: Air bag jacks are stable on flat, solid ground but can be compromised by uneven, soft, or debris-covered surfaces. Hydraulics also require stable ground; both benefit from load-distributing pads on asphalt, gravel, or dirt.
- Failure modes: Air systems can drop rapidly if a hose, valve, or bladder fails. Hydraulics can drop if a seal leaks or the release is turned. In both cases, jacks are unsafe as supports. Always capture the load with jack stands or cribbing.
- Portability: Hydraulics are self-contained but heavier; air bag jacks are lighter yet need shop air. For roadside use, hydraulics (or the OE scissor jack in emergencies) are typically more practical.
Bottom line: Air bag jacks are safe to lift with when used correctly and supported immediately with stands. The same rule applies to hydraulic jacks. No jack is a holding device.
Safety Fundamentals: Lift With a Jack, Hold With Stands
Every manufacturer’s jack manual states it: jacks lift; stands support. The safest approach is redundancy and capture:
- Stand placement: As soon as the tire clears, set jack stands at approved support points and lower the load onto them. Never put any part of your body under a vehicle supported solely by a jack.
- Redundancy: Use more than one layer of protection when possible. After loading stands, slide the removed wheel/tire under a strong point near the rocker or frame as a secondary catch. For higher lifts, use cribbing blocks (rated hardwood or purpose-built composite) in addition to stands. Do not substitute random bricks or cinder blocks.
- Ground conditions: Concrete is preferred. On asphalt, gravel, or soil, use heavy plywood or steel plates under the jack and stands to prevent sinking or tilting. Avoid slopes. If unavoidable, chock downhill wheels aggressively and minimize lift.
- Control the lowering mechanism: Remove the jack handle or isolate the release so no one can twist or bump it while you’re underneath. With air bag jacks, ensure valves are closed and lines are protected from tripping or snagging.
- Capacity and ratings: Use equipment with adequate tonnage. Many stands are rated per pair; verify your local labeling standard and never exceed the rated capacity.
How to Lift Safely With a Pneumatic Air Bag Jack
- Verify capacity and clearance. Confirm the jack’s tonnage exceeds the load on the lift point (rule of thumb: 2–3 ton for cars, 3–4+ ton for light trucks/SUVs). Ensure the jack’s minimum height fits under the lift point.
- Prepare the vehicle. Park on level, solid ground. Set the parking brake. For automatics, place in Park; for manuals, in gear. Turn the steering wheel straight unless your procedure requires otherwise.
- Chock the wheels. Chock at least one wheel on the ground at the opposite end of the vehicle—preferably both forward and rear faces of the tire. Chocks should be purpose-made and rated.
- Identify lift points. Use the service manual lift points: pinch welds with proper adapters, subframe pads, front crossmember, rear differential (if manufacturer-approved), or designated jacking pads. Avoid thin or unsupported sheet metal.
- Protect surfaces. Place a rubber pad or appropriate adapter on the jack saddle to prevent marring and to stabilize on curved or painted components.
- Connect air supply. Use a compressor capable of the jack’s required pressure and CFM (commonly 90 PSI; check your model). Drain water from the compressor tank. Inspect hoses, quick-connects, and valves for leaks or damage.
- Position the jack. Center the lifting pad under the target point. Keep the jack square to the load and wheels pointing the direction of travel. Clear hands and body from the vehicle’s underside.
- Inflate and lift. Open the air valve gradually. As the pad contacts the vehicle, recheck alignment. Lift only as high as needed to place stands under approved support points.
- Capture the load with stands. Place jack stands at manufacturer-recommended support points. Use slotted pinch-weld adapters where appropriate, or saddle a flat frame pad. Adjust stand height evenly.
- Lower onto stands. Close the air valve to lower slowly until the vehicle is fully seated on the stands. Slightly re-pressurize the jack to lightly kiss the lift point (without supporting weight) as a backup, or remove the jack entirely to reduce trip hazards.
- Verify stability. Push at the body’s rocker panel with hip/shoulder (not hands under the vehicle) to confirm the vehicle is settled. If there’s rocking or shifting, raise, reposition, and repeat.
Reverse the procedure to remove stands: lift enough to clear the stand saddles, pull stands clear, and lower slowly while monitoring for obstructions. Keep clear of pinch points.
When the Jack and Stand Compete for the Same Point: Practical Options
It’s common for the designated pinch weld to be both the jacking and standing point. Use one of these strategies:
- Lift from the subframe or crossmember; stand at the pinch weld. Many vehicles allow lifting at a front crossmember or rear subframe. Verify in the service manual. Use a rubber pad to avoid damage.
- Center lift, dual stand placement. Use a center jack point (front crossmember or rear differential if approved) to raise an entire end, then set a stand at each side pinch weld. Repeat for the opposite end.
- Control arm or axle tube (with caution). On some trucks and solid-axle vehicles, you can lift at the axle tube or control arm mount and place stands under frame rails. Confirm manufacturer guidance to avoid bending arms or damaging bushings.
- Pinch-weld adapters/crossbeam adapters. A pinch-weld puck or slotted adapter prevents crushing seams. A crossbeam adapter on a hydraulic jack can span both sides, letting you lift from two points and place stands independently.
Never “yank the jack” and try to shove a stand under a dropping vehicle. Always keep the vehicle supported during repositioning—lift an inch, crib an inch.
Equipment Sizing, Compressor Requirements, and Ground Conditions
Jack capacity:
- Passenger cars: 2–3 ton minimum
- Crossovers/light trucks/SUVs: 3–4 ton minimum
- Heavy duty/box trucks: 5–12 ton (often bottle jacks or shop bridge jacks)
Compressor (for air bag jacks): Most triple-bag jacks work at around 90 PSI; having 4–6 CFM at 90 PSI provides responsive lift. Keep hoses short and free of kinks. Air-over-hydraulic bottle jacks also benefit from clean, dry air but can be pumped manually if air is unavailable.
Minimum height and reach: Verify the jack’s collapsed height fits beneath low vehicles. If not, use low-profile ramps or a low-profile hydraulic jack to gain initial clearance, then switch to your preferred jack if needed.
Ground and stability: Use wide base plates or plywood pads under jacks and stands on soft surfaces. Avoid lifting on slopes. Never place stands on loose materials. Ensure stand pawls or pins are fully engaged and saddles cradle the support point.
Accessories that improve safety and speed: Wheel chocks, pinch-weld pads, axle saddle adapters, crossbeam adapters, cribbing blocks, and rubber pads reduce damage and increase stability.
Inspection and Maintenance: Jacks and Stands
Before each use:
- Check jacks and stands for cracks, bent parts, corrosion, leaking seals, damaged hoses/valves, and loose hardware. Tighten fasteners as needed.
- Verify smooth operation: inflate/deflate air bag jacks without load; pump and release hydraulic jacks under a light load to confirm controlled lowering.
- Ensure stand teeth/pawls or pin-through holes are crisp and fully engaging. Avoid questionable or recalled stands.
- Keep oil, grease, welding spatter, and heat away from jack bladders and stand saddles. Rubber air bags are susceptible to heat and sharp edges.
Service intervals: Drain compressor tanks daily in humid environments. Replace worn seals/hoses promptly. Lubricate pivot points on stands and jacks per manufacturer instructions. Store jacks unloaded and clean.
Pre-Lift Safety Checklist (Short)
- Confirm rated capacity of jack and stands; verify approved lift points in service data.
- Park on solid, level ground; set parking brake; chock at least one wheel on the opposite end.
- Inspect jack, stands, hoses, and adapters for damage or leaks.
- Position jack squarely with proper pads/adapters; keep hands and body clear.
- Lift only enough to place stands; lower fully onto stands; verify stability before working.
FAQs
Are pneumatic air bag jacks safe?
Yes—for lifting only. They can fail suddenly (as can hydraulic jacks). The safe method is to lift with the jack and immediately support the vehicle with appropriately rated jack stands or cribbing before working.
What if I’m only changing a tire—do I still need stands?
Any time part of your body could be in a crush zone, use stands. If you’re simply swapping a wheel and your body is never under the vehicle, the risk is lower, but using a stand is still strongly recommended. At minimum, add redundancy: wheel/tire under the rocker, proper chocks, and keep the jack’s release protected.
Where do I put stands if the jack uses the same pinch-weld point?
Lift from a manufacturer-approved center point (front crossmember, rear subframe, or differential if allowed) and place stands at the pinch welds. Alternatively, lift from the subframe or control arm mount (where approved) and stand the frame or pinch weld. Use appropriate adapters.
What compressor do I need for an air bag jack?
Most require around 90 PSI; 4–6 CFM at 90 PSI provides good responsiveness. Smaller portable compressors may work but will be slower. Keep lines short and drain moisture to prevent valve icing or sluggish actuation.
Can jack stands fail?
Yes. Use stands from reputable manufacturers, verify ratings (per pair vs. per stand), inspect teeth/pawls/pins, and place them on solid, level ground. Use redundancy: second stand, wheel underbody, or cribbing, especially on uneven surfaces.
Is an air-over-hydraulic bottle jack a better choice?
For heavier loads or higher lift heights, air-over-hydraulic bottle jacks are compact and powerful. They’re excellent for trucks and equipment and can be pumped manually if air isn’t available. They do require taller clearance under the lift point compared to low-profile floor jacks.
I have a lowered car. Will an air bag jack fit?
Often not. Many air bag jacks have taller minimum heights. Use a low-profile hydraulic floor jack or low-profile ramps to create clearance. Verify collapsed height specs before buying.
How do I reduce the risk of sudden lowering?
Always capture the load with stands, keep your body clear during lifting/lowering, protect airlines from trip hazards, avoid heat/sharp edges near the air bladder, and isolate jack releases (remove handle or guard valves) while working.
Shop Jacks & Stands
Looking for safe lifting and solid support? Explore our Service Jacks, or Air Bag Jacks to pair the right jack with properly rated stands and accessories.
- Hydraulic and pneumatic floor jacks for quick, controlled lifts.
- Jack stands in multiple capacities plus pinch-weld and axle adapters.
- Wheel chocks, pads, and crossbeam adapters for stability and protection.
The Toolsource Technical Team blends decades of real-world automotive service experience with up-to-date technical research. Our writers collaborate with professional mechanics, shop owners, and diagnostic specialists to deliver practical, workshop-ready guidance you can trust.
Follow us on social media